
I find space marines pretty boring. I don’t think any of my fellow xenos players are surprised by that statement, that’s why we play xenos. However, my boyz and my brothers and sisters of the revolution need someone to scrap with/depose and few fit the bill as well as the puppets of the corpse emperor.
So I’ve been printing marines, and terminators, and an imperial knight, I might’ve even bought a Deathwatch killteam… Look, I think we can all agree that the exception to space marines being boring are the Deathwatch killteams and terminators. You even get to mix and match whatever chapter livery you want. Perfect for someone like me who can’t settle for one.
Wait…. does this make me a reverse heretic? TAKE ME BACK!
In a previous post I showed of a Deathwatch intercessor I had 3D printed, and as of late I’ve switched over to terminators. I do actually like the terminator design and apparently they’re even easier to paint than space marines. This is my first attempt.
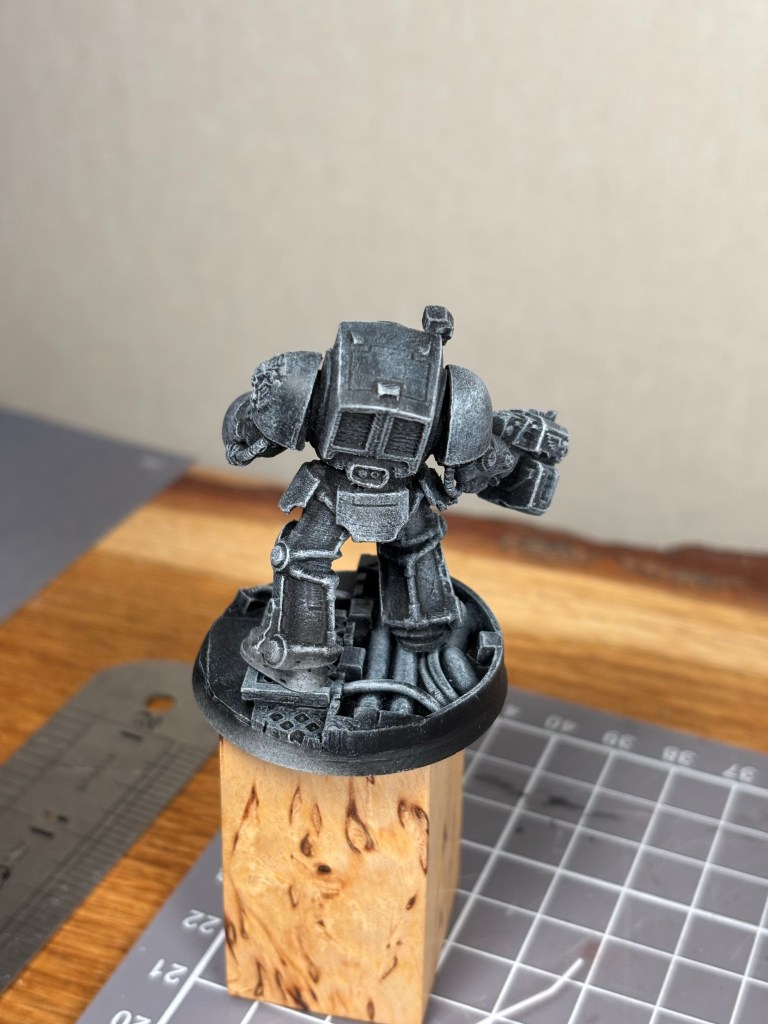
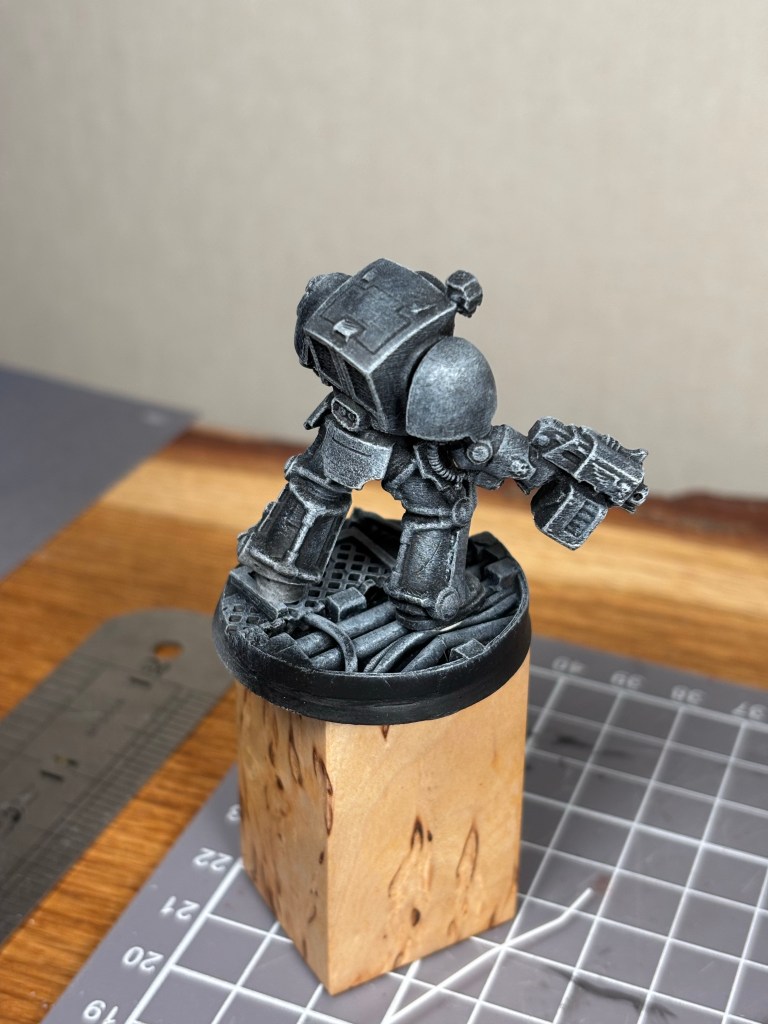
Priming
I started out with a black Vallejo primer on which I drybrushed W&N Galleria zinc white, also known as mixing white. (This is what I had on hand).

Basecoat and Highlights
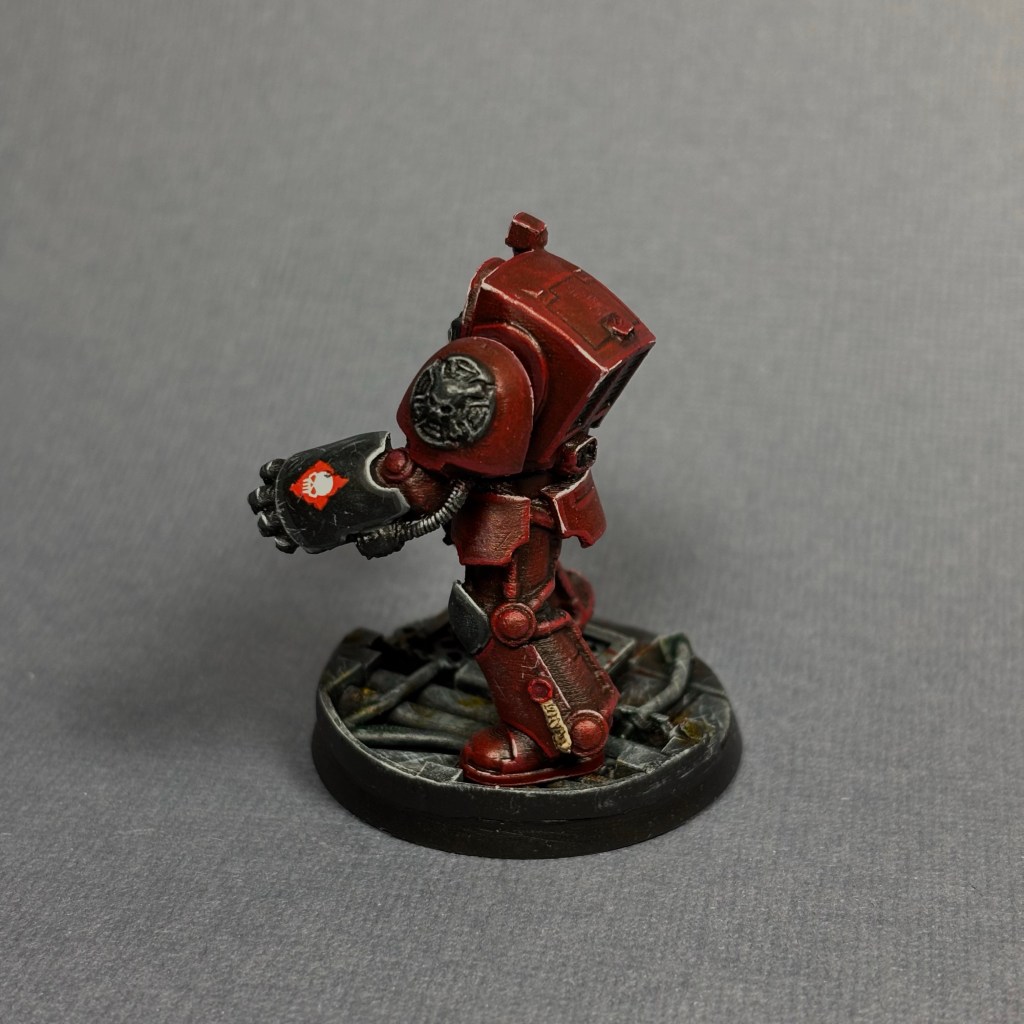
I’m trying out a new red I bought for this project. For this stem I used Velvet Red and Black Lotus Xpress paints from Vallejo. Right of the bat I added a two step highlights on the red portions using a mix of red and orange from Vallejo’s game colour line.
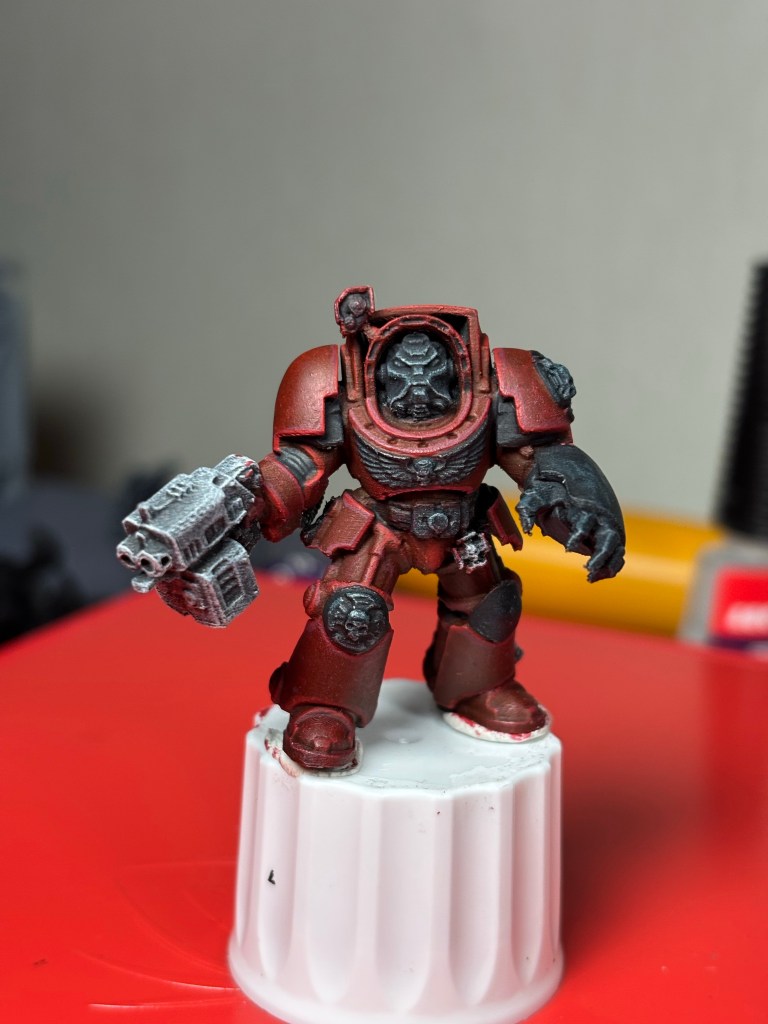
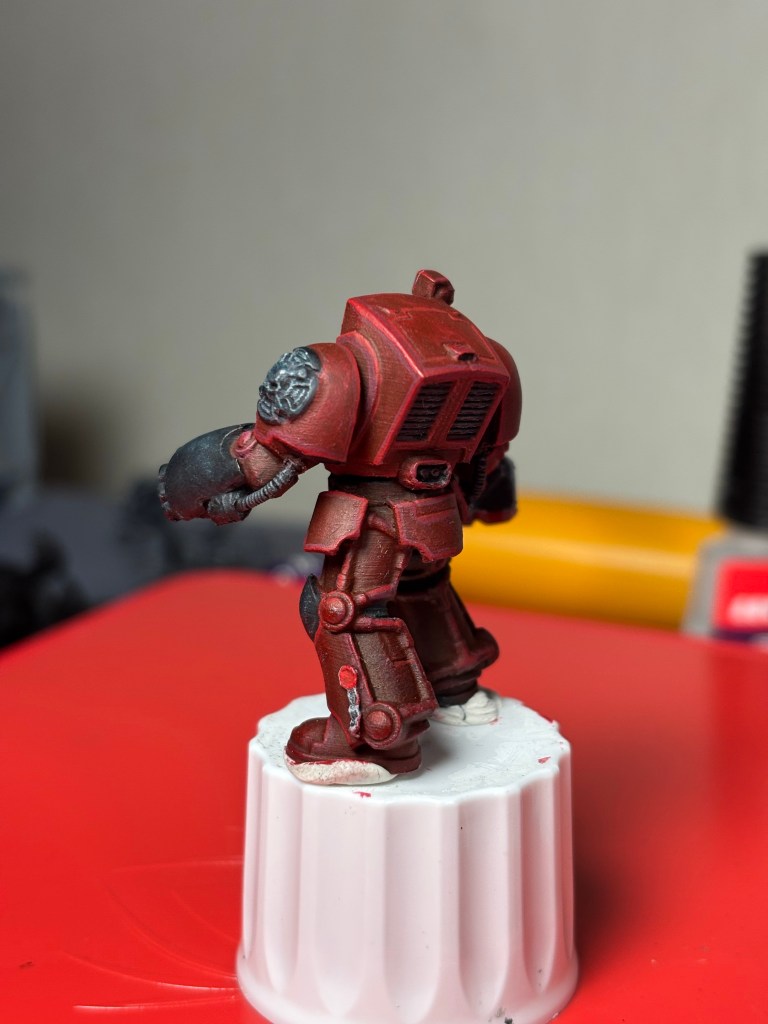
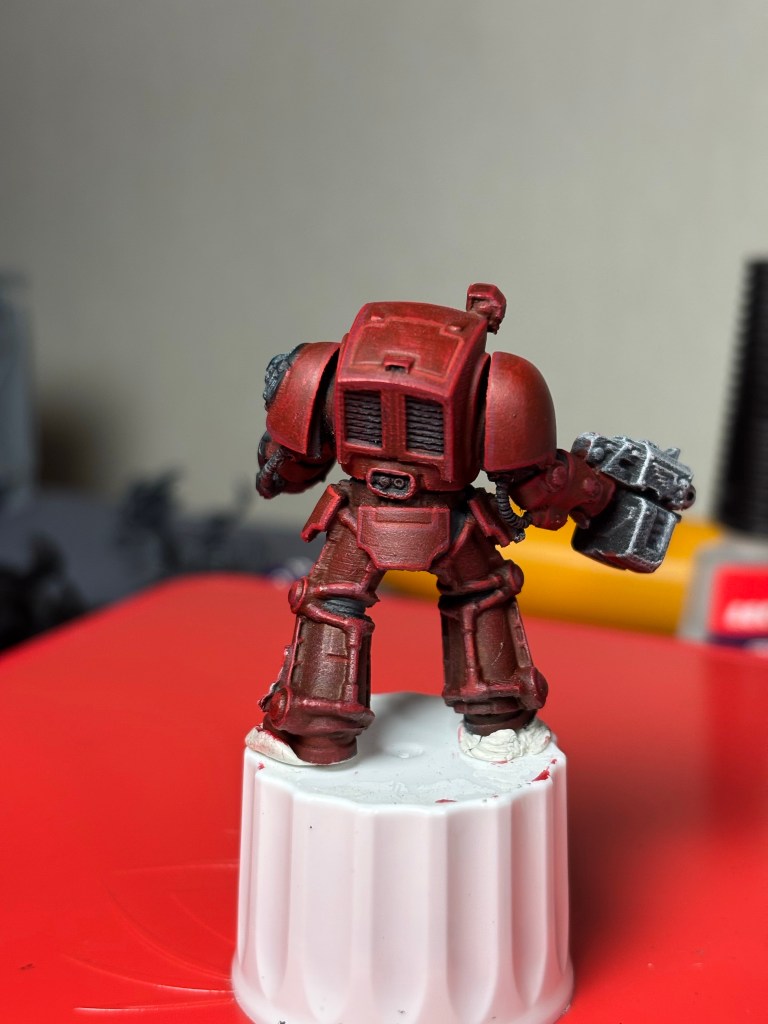
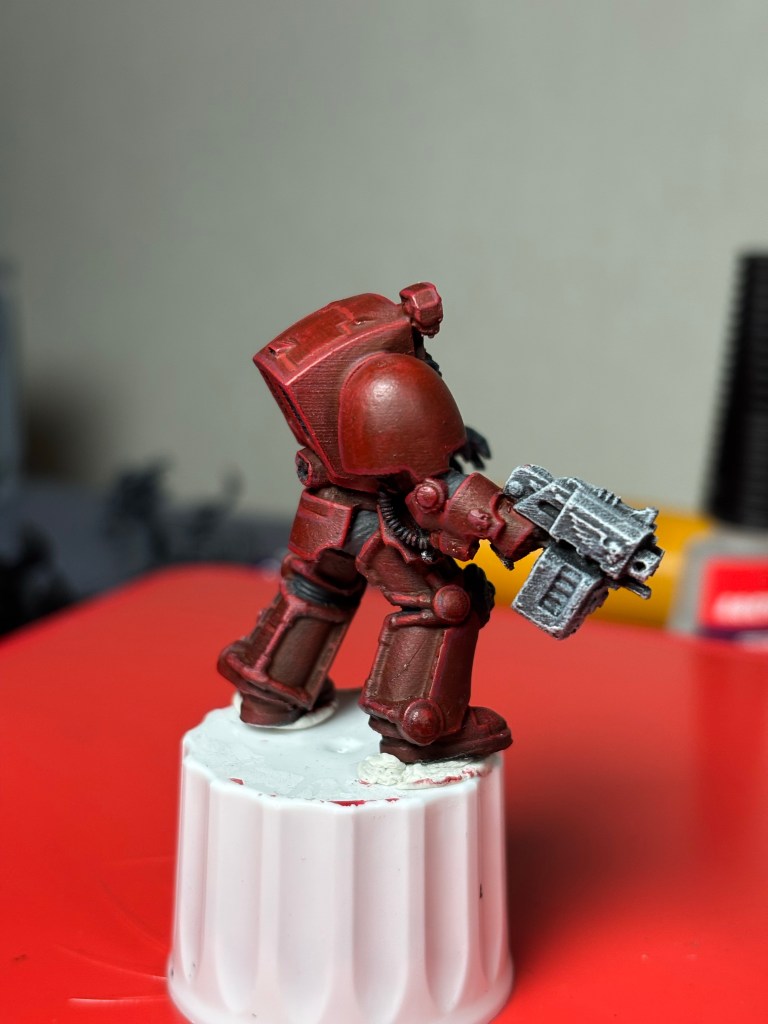
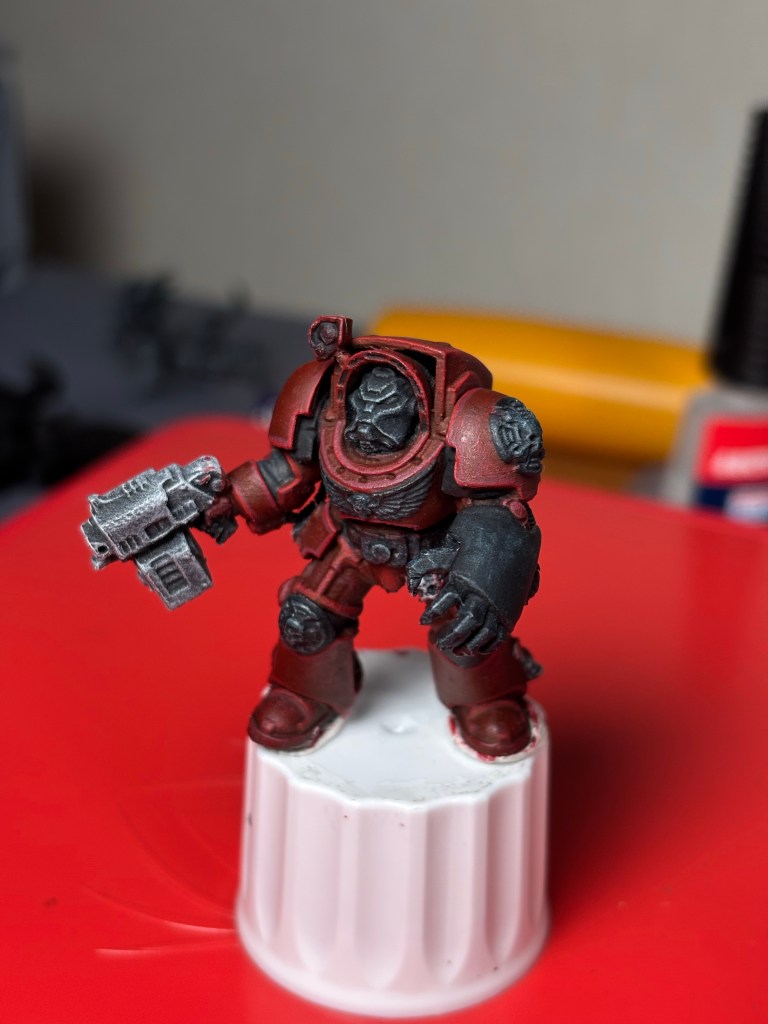
I think the two lines of highlights do a lot to bridge the bright highlight with the colour of the basecoat. For the areas coated in black lotus I used a mix of Game Colour Charcoal and Model Air Light Grey mixed with Charcoal.
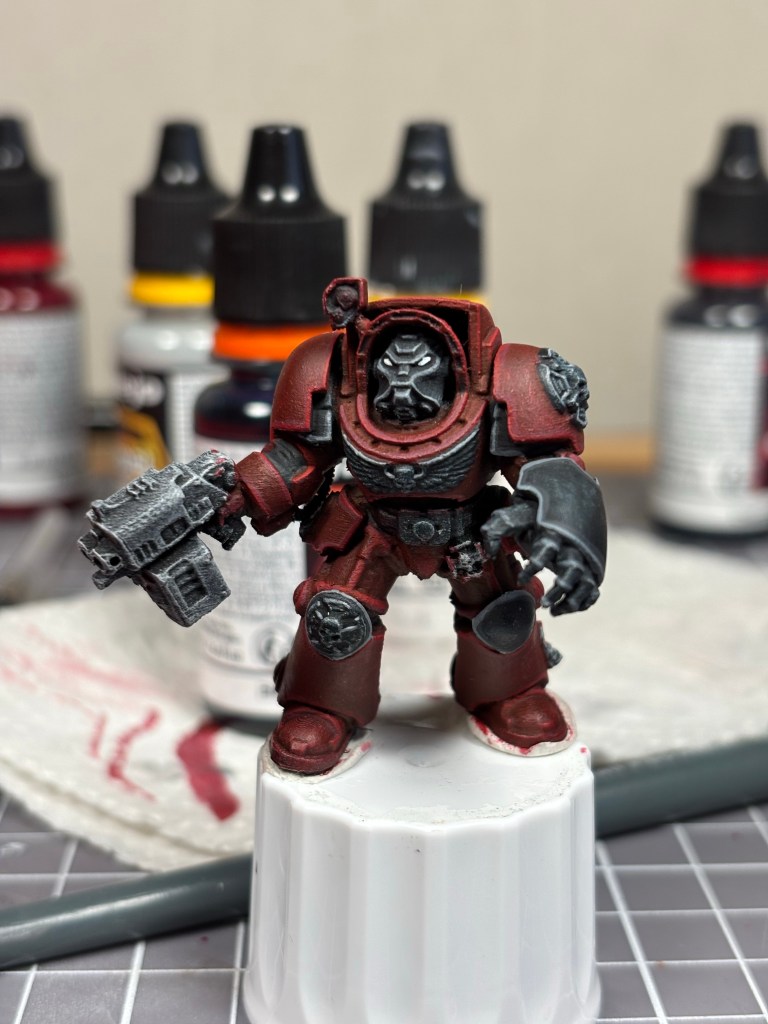


Starting to enjoy the white lenses on the helmet. I could stop here and just finish the bolter, that could definitely be considered a finished miniature, but I want to try something and push this one that extra distance.
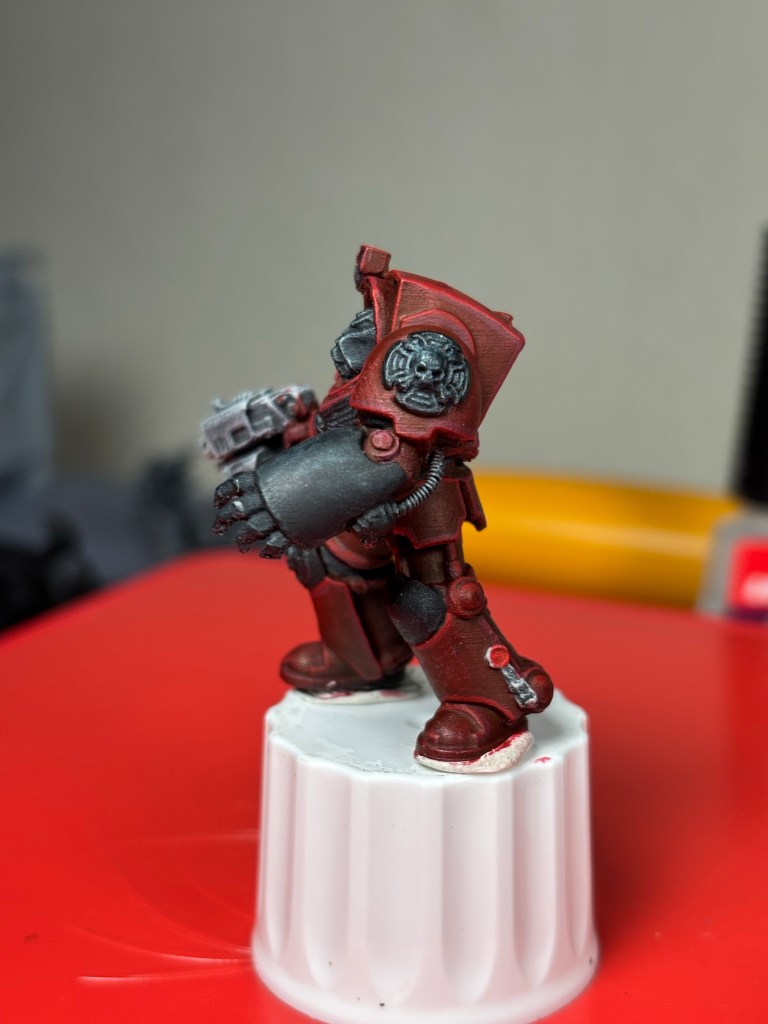
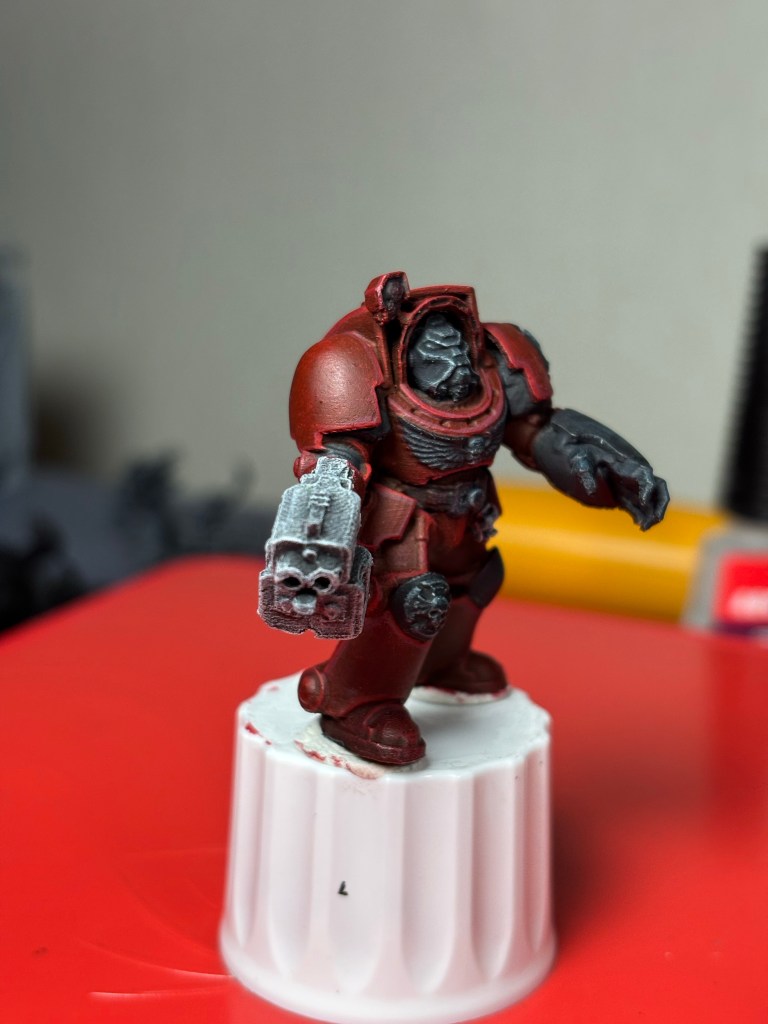
Wash and a High Highlight
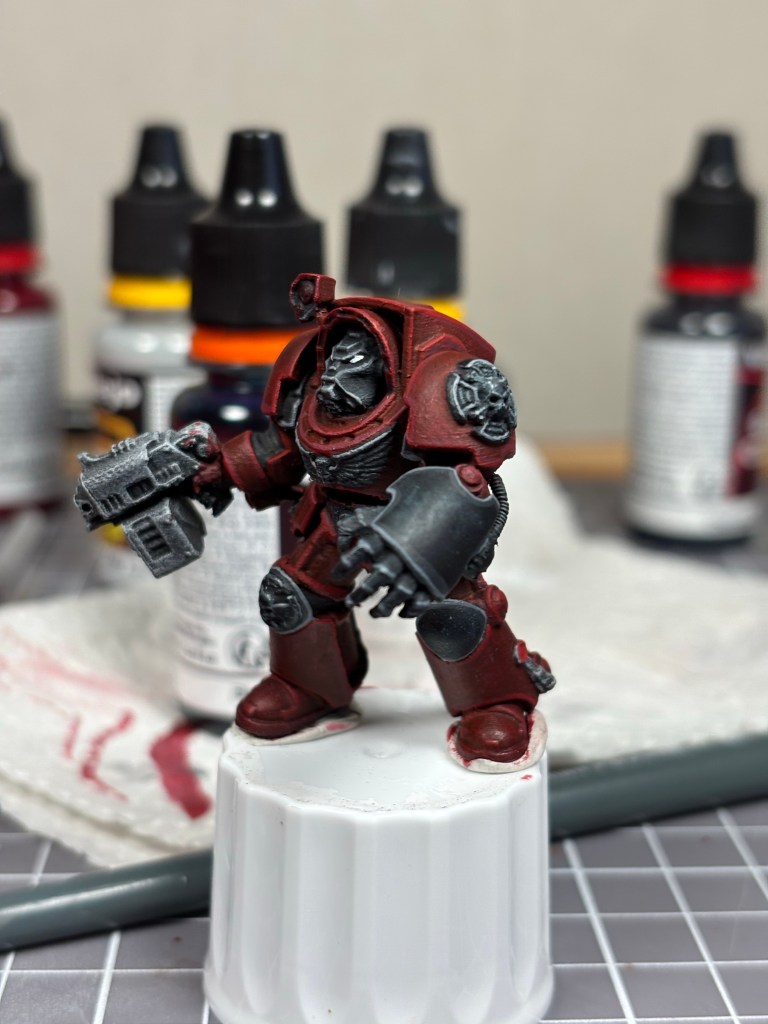
I hit the model with a gloss varnish, this looks absolutely awful right now but it helps the oil wash better seek out the crevasses.
I used W&N Artisan oil deluded with water as a wash, it dries relatively quickly and doesn’t leave the same tidemarks as a fast drying acrylic wash. It’s also nice to not have to deal with the mess and odour of white spirits.
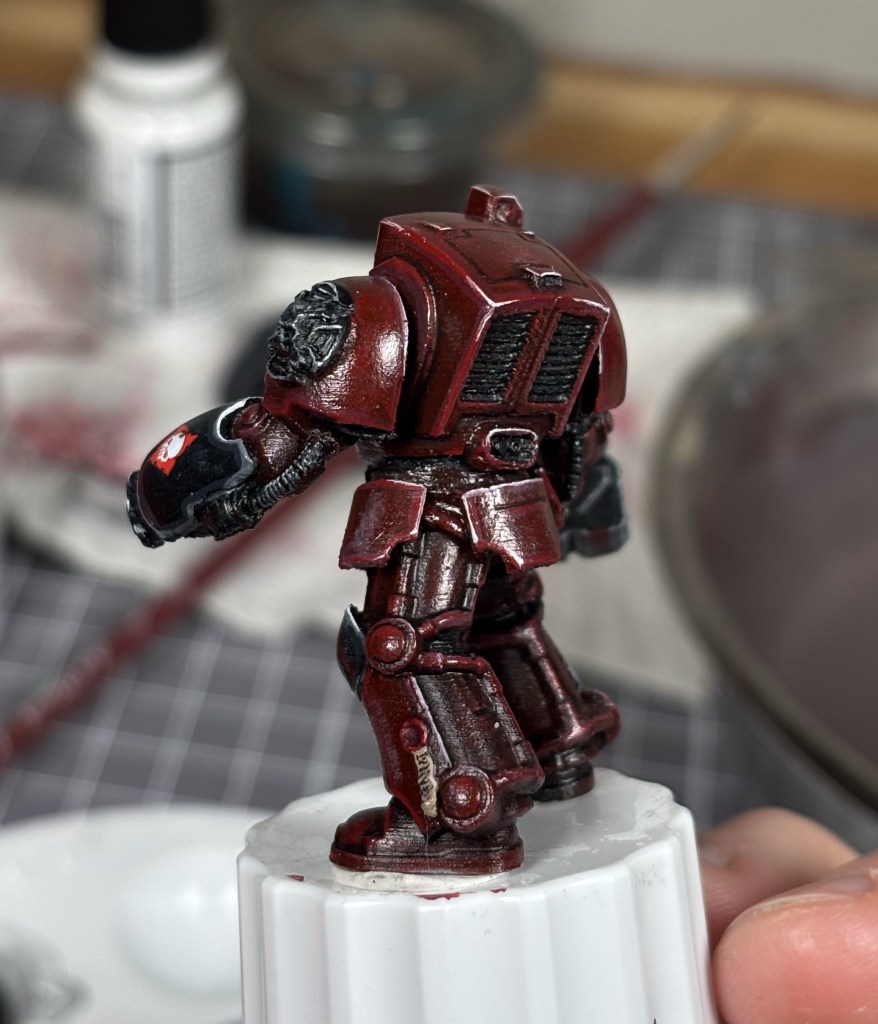


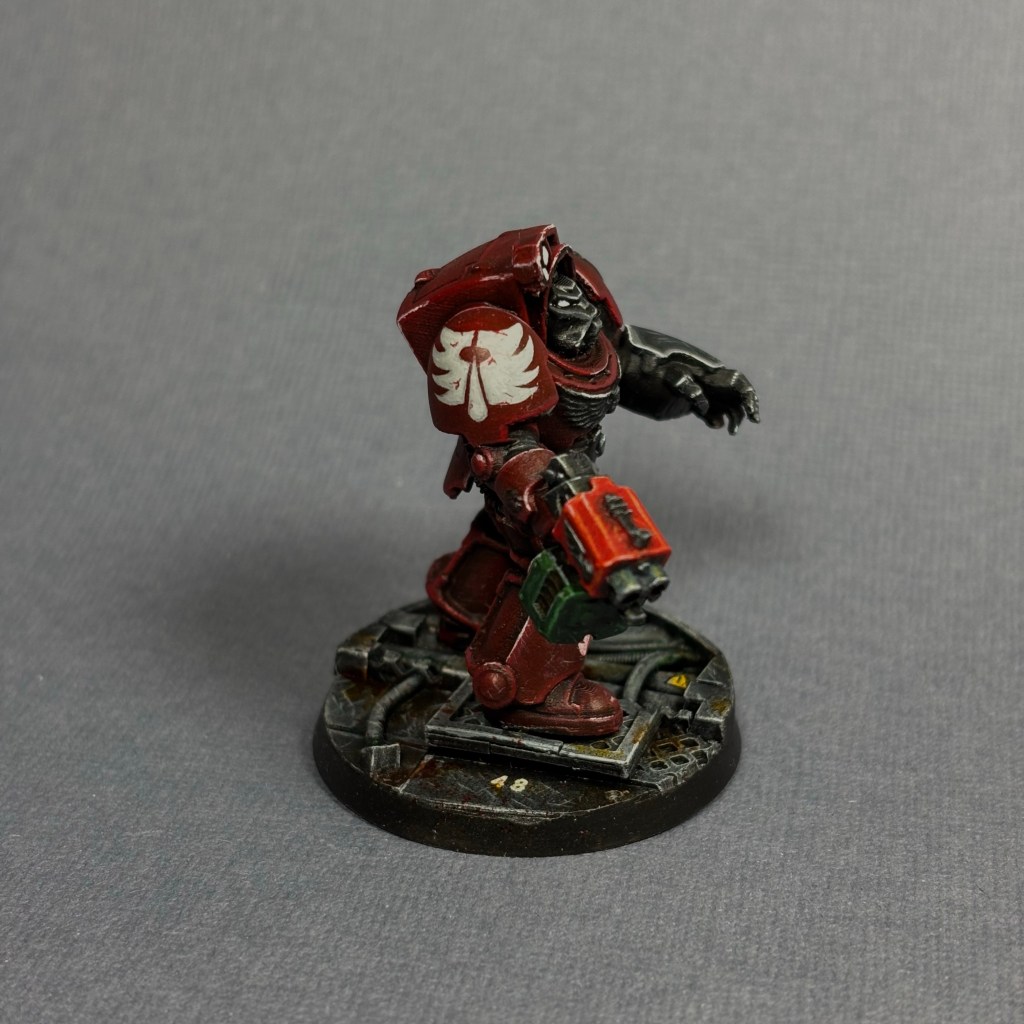
I added a really fine highlight in white on the top edges of the model and some more texture with two waterslide decals from the Cadian transfer sheet.
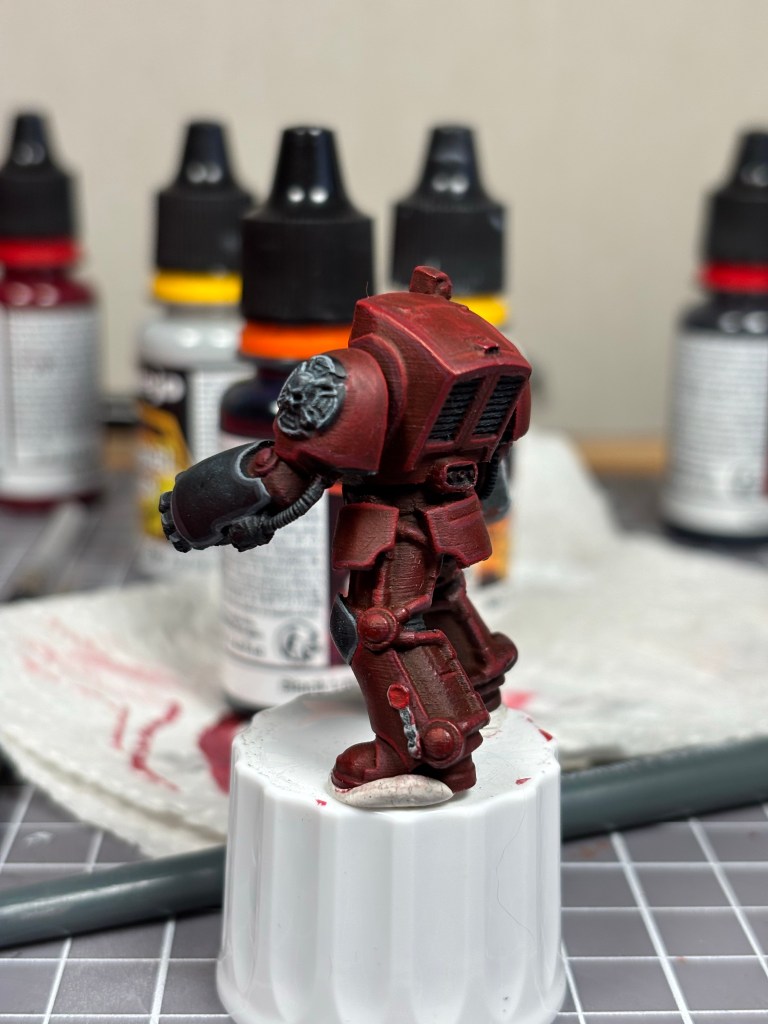
The one on the leg went on just fine, but the one on the power fist had a hard time conforming to the bulged surface. This might’ve been the time to buy some Microsol to help soften up the decals, but I forced it down with some clearcoat. I then added some of my basepaint to these to make them appear worn.
Disaster struck when I applied too liberal an amount of paint and in my haste attempted to remove the paint I had just added by using alcohol. I did not know that polyurethane clear coat dissolves in alcohol and I managed to slightly damage my basecoat on the right leg of the mini. It was recoverable tough.
Basing
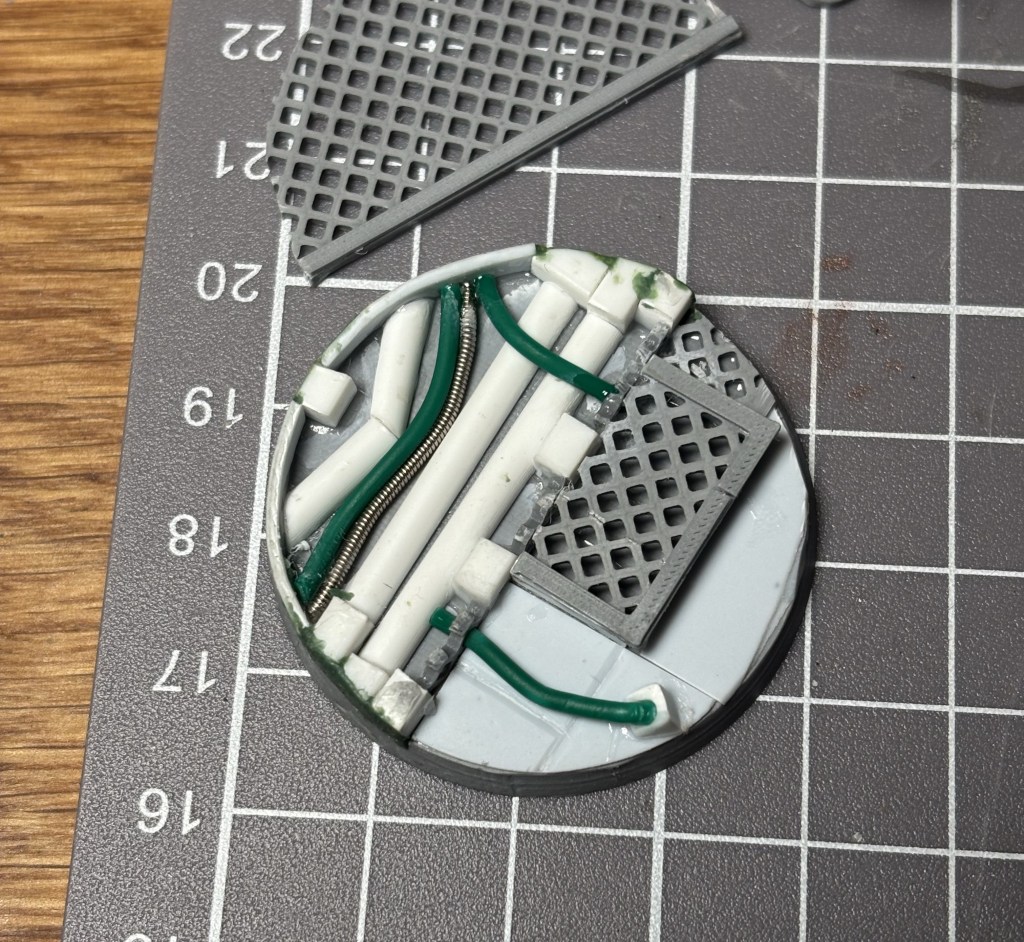
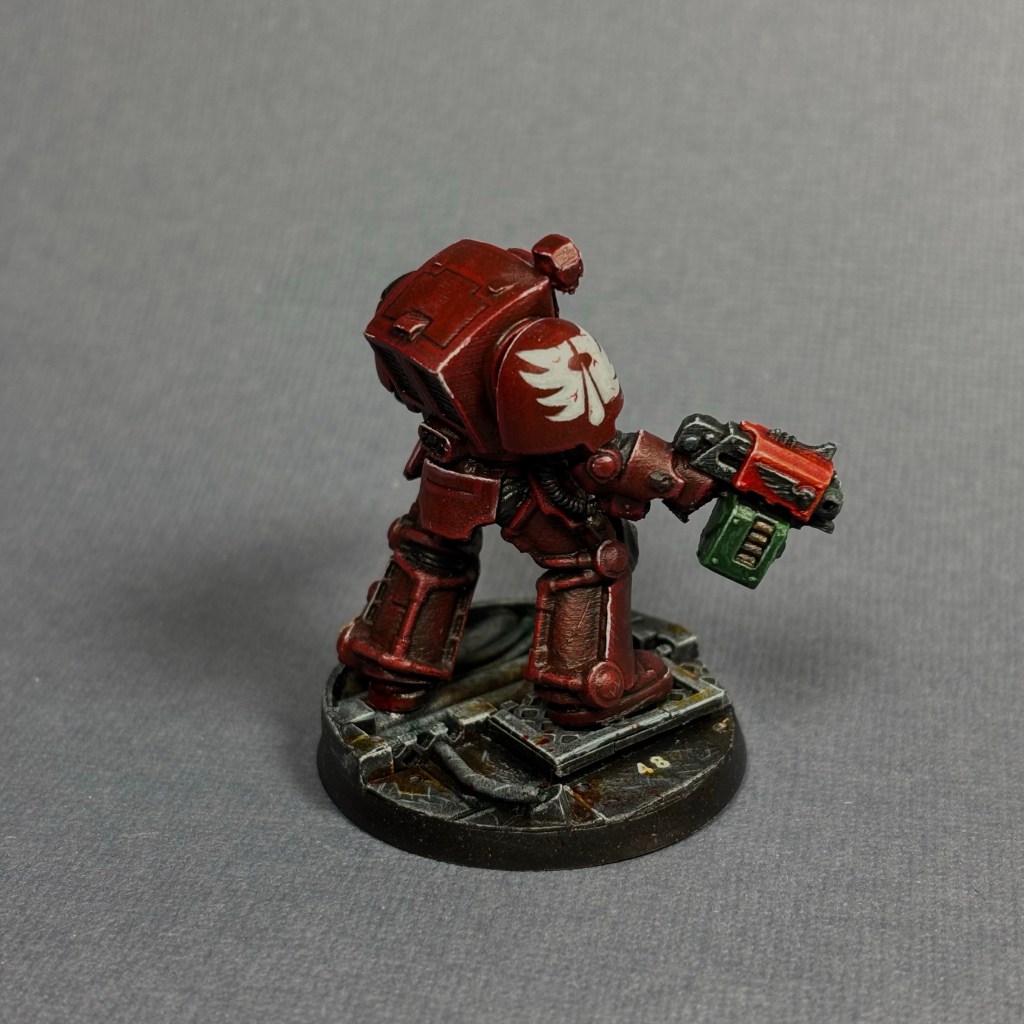
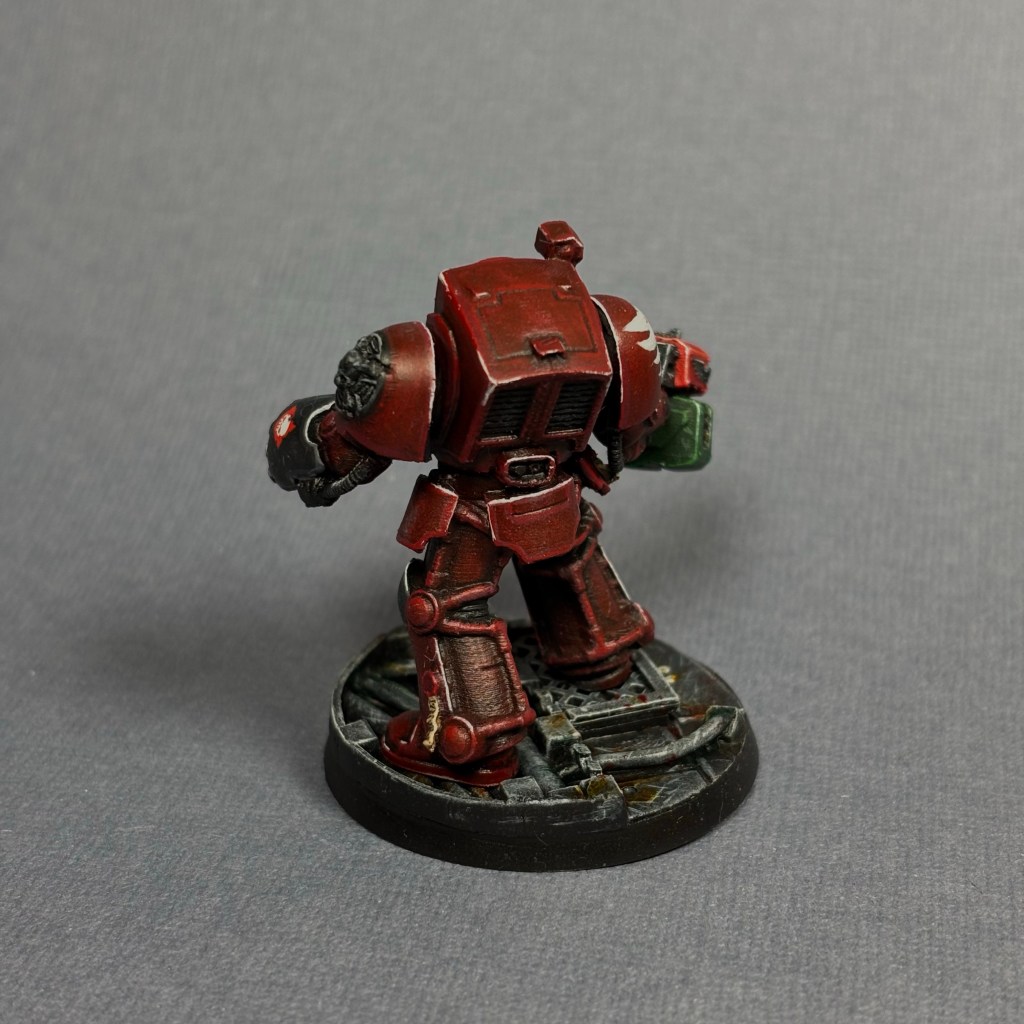
The base is a mix of plasticard profiles, wires, a snippet of guitar string, and 3D printed grating cut to size with a pair of scissors. This always looks like crap until you’ve put on that first basecoat. You just have to look beyond the colours and focus on the shapes and textures of the objects.
I spent some time finishing up the base. I really enjoy how it turned out! A good place to get to put some of my effect paints to work. I’ve used Dirty Down Rust, Yellow Rust, and Verdigris to try and capture that 1000 year old spaceship hangar vibe. Although looking at the result I do not believe I mixed the Verdigris paint enough, considering how toned down the result turned out.
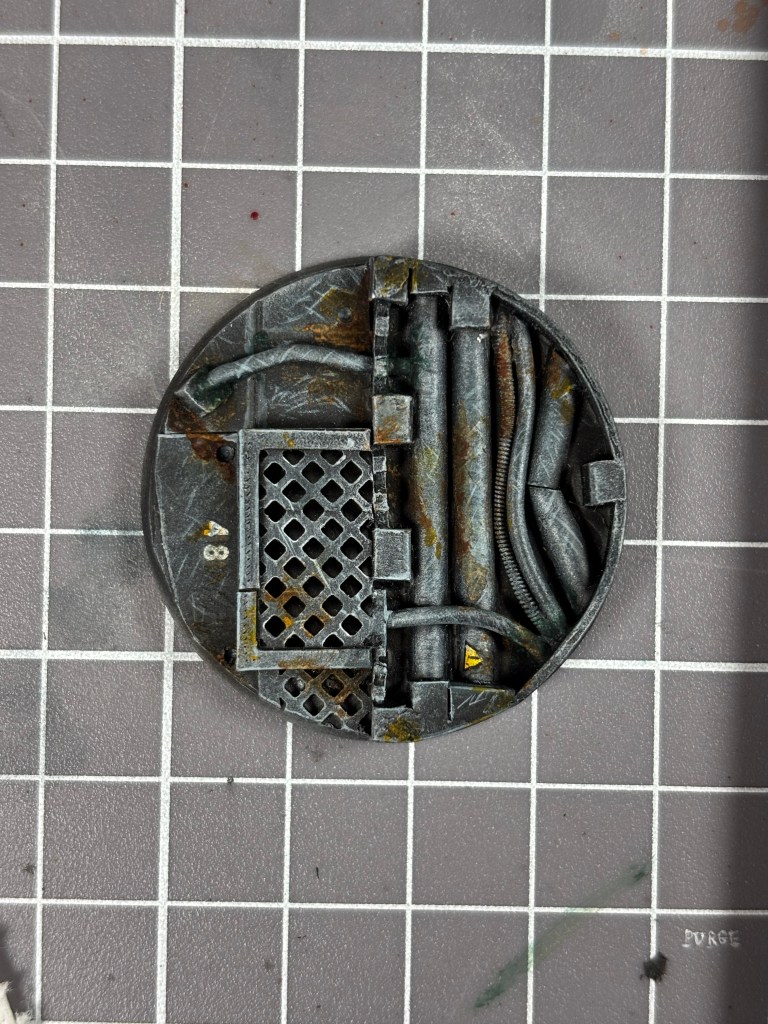
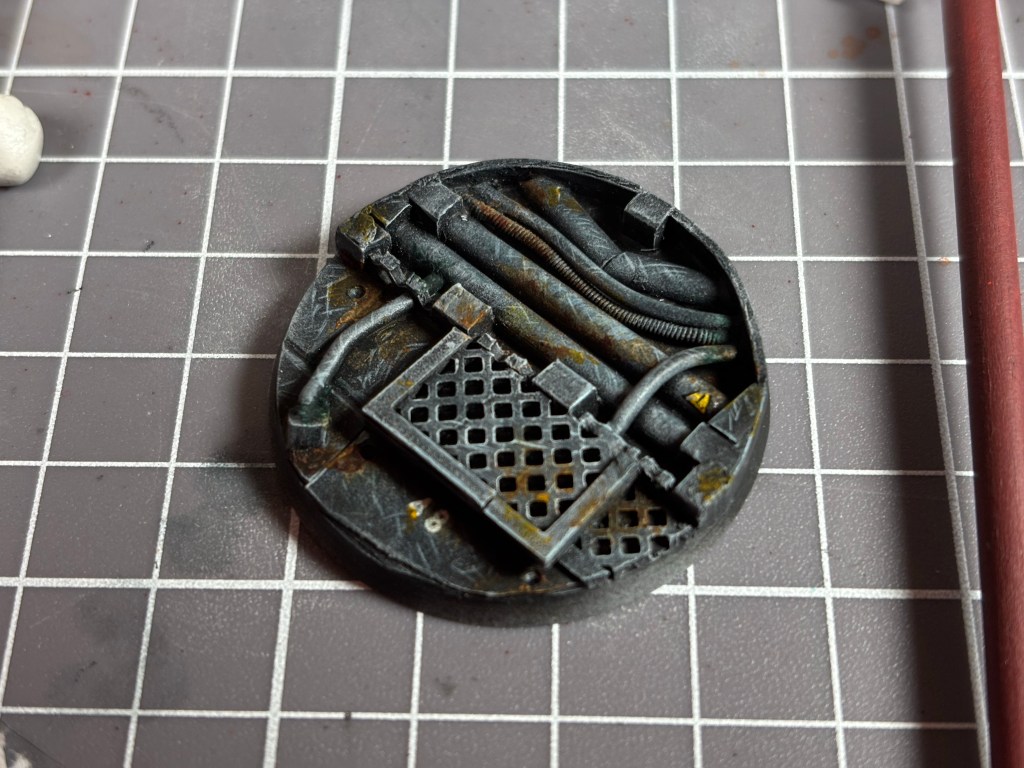
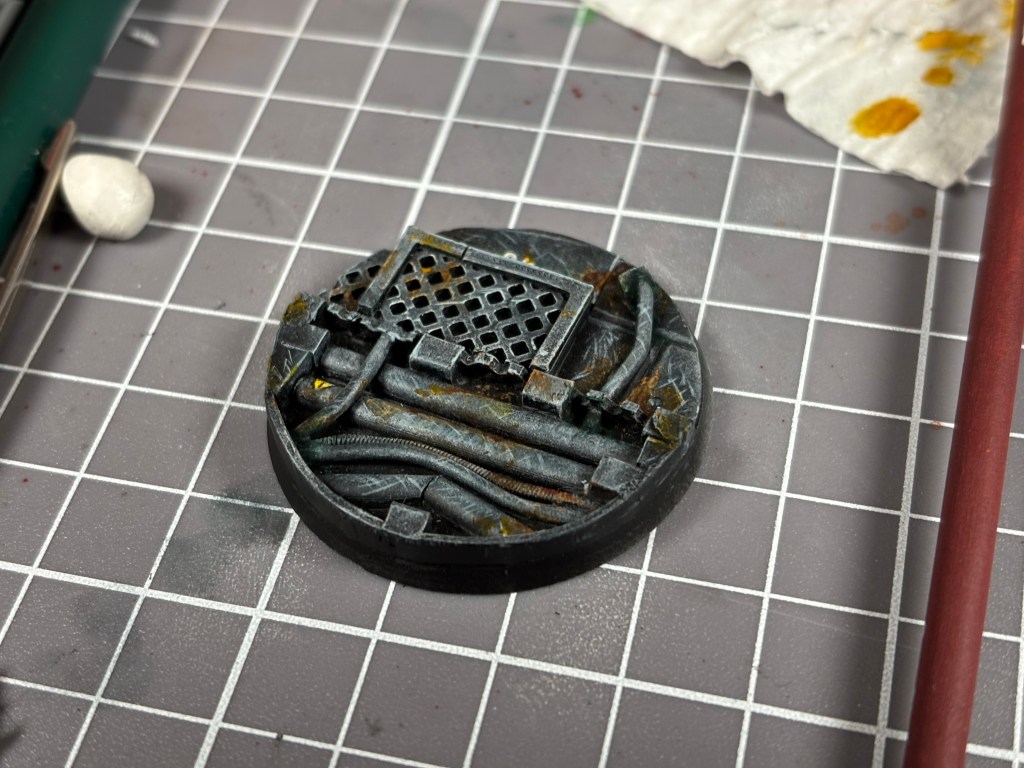
The rest of the paintjob is just a light drybrush of zinc white on top of vallejo black primer with feathered on highlights and scratches in Vallejo Model Colour Air Pale Blue and Light Grey.
Finishing up the Weapons
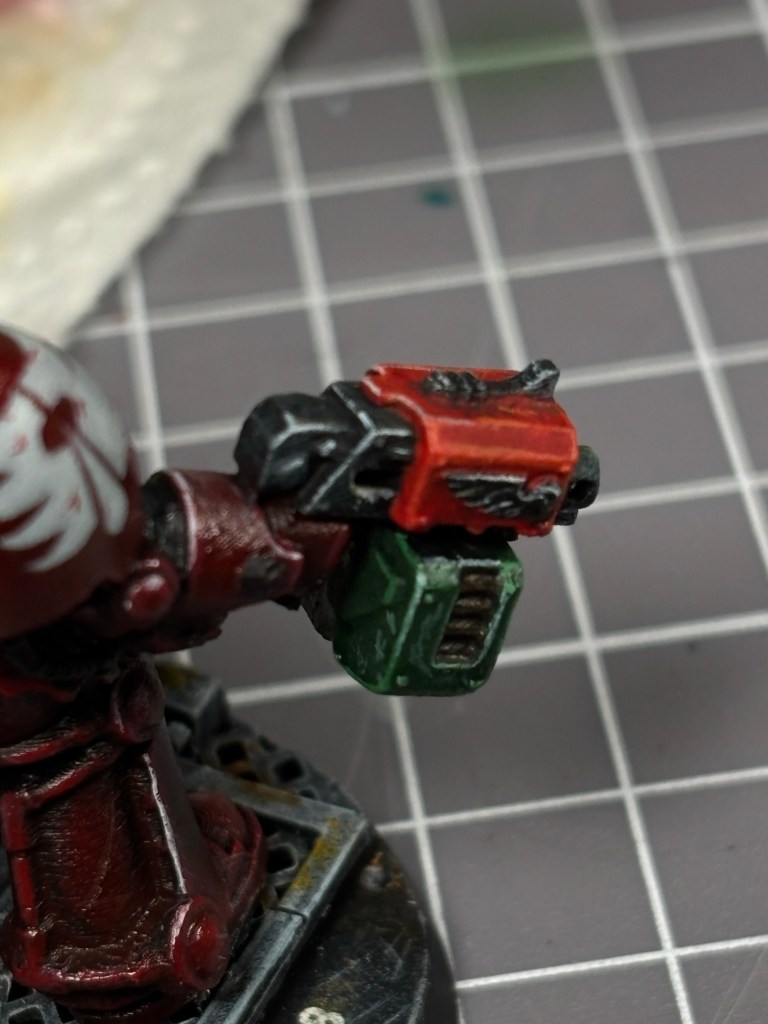
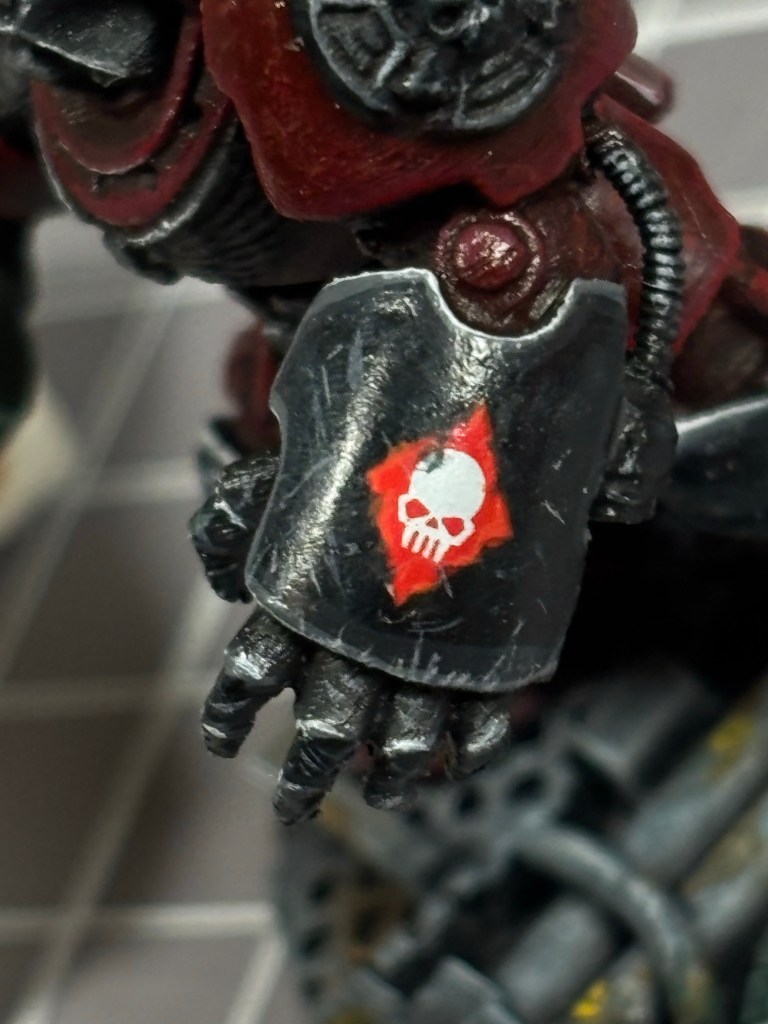
Scratchy orange edge highlights on the skull decal on the power fist ties together the worn painted look and I put some effort into finishing the storm bolter. I was wanting to do this project completely without metallic paints, but I didn’t come up with a good scheme for the bolter magazine so I resorted to gold paint for the shells in the cutout. It’s heavily covered in oil wash and barely reflective anymore anyways.
I’m done!
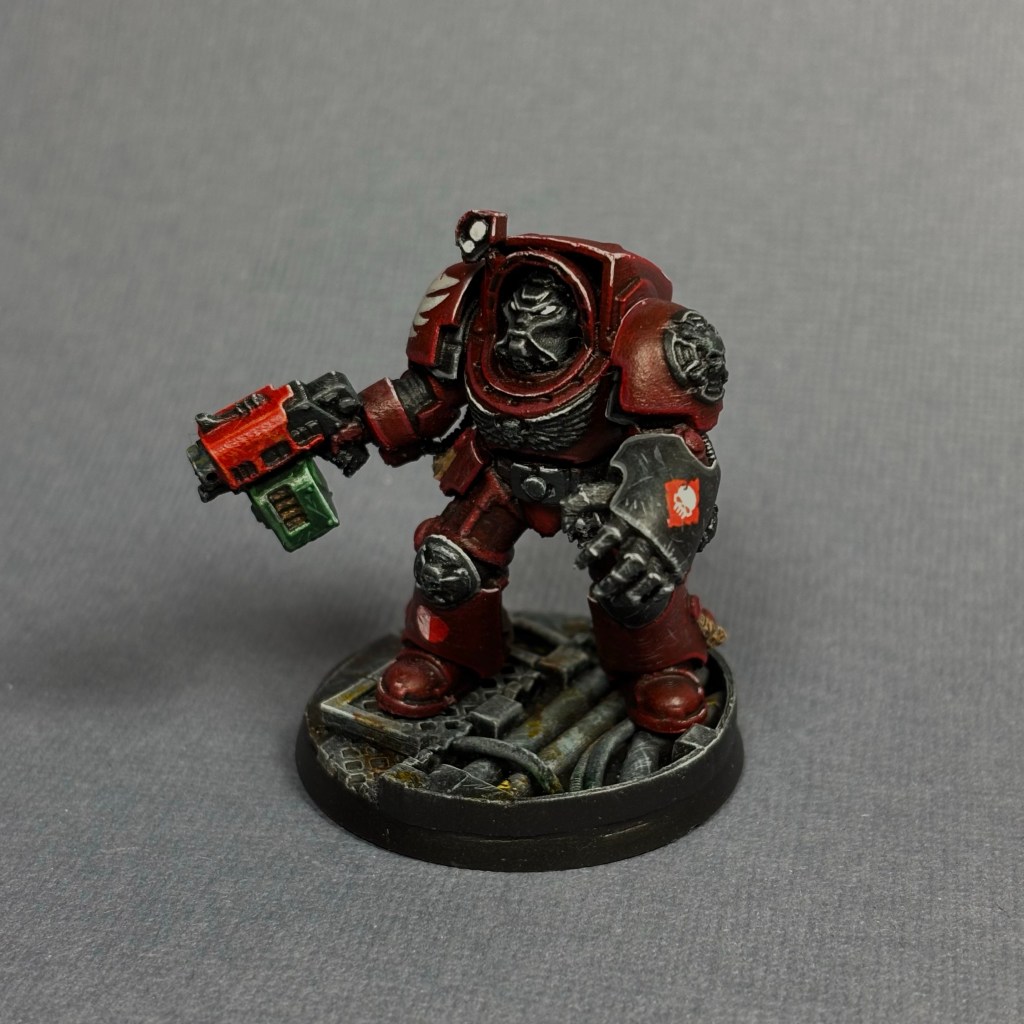
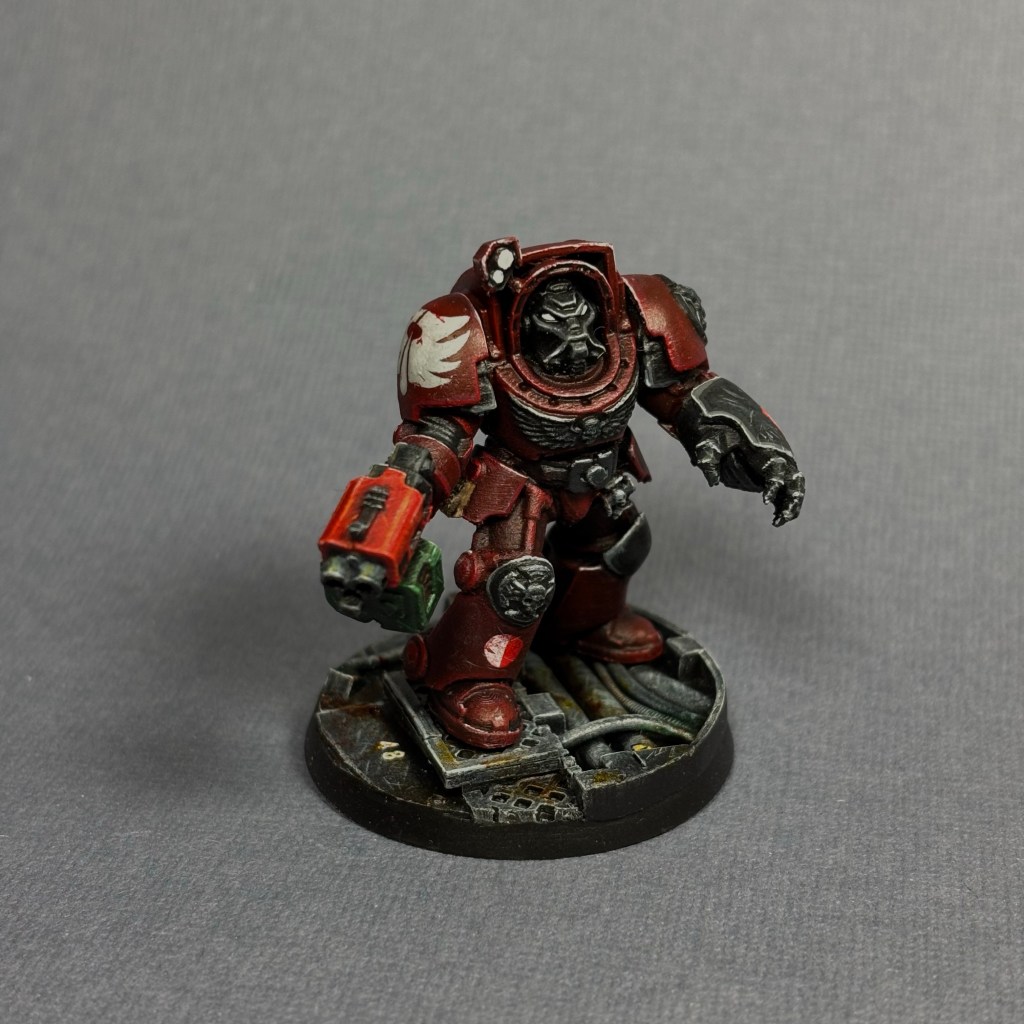
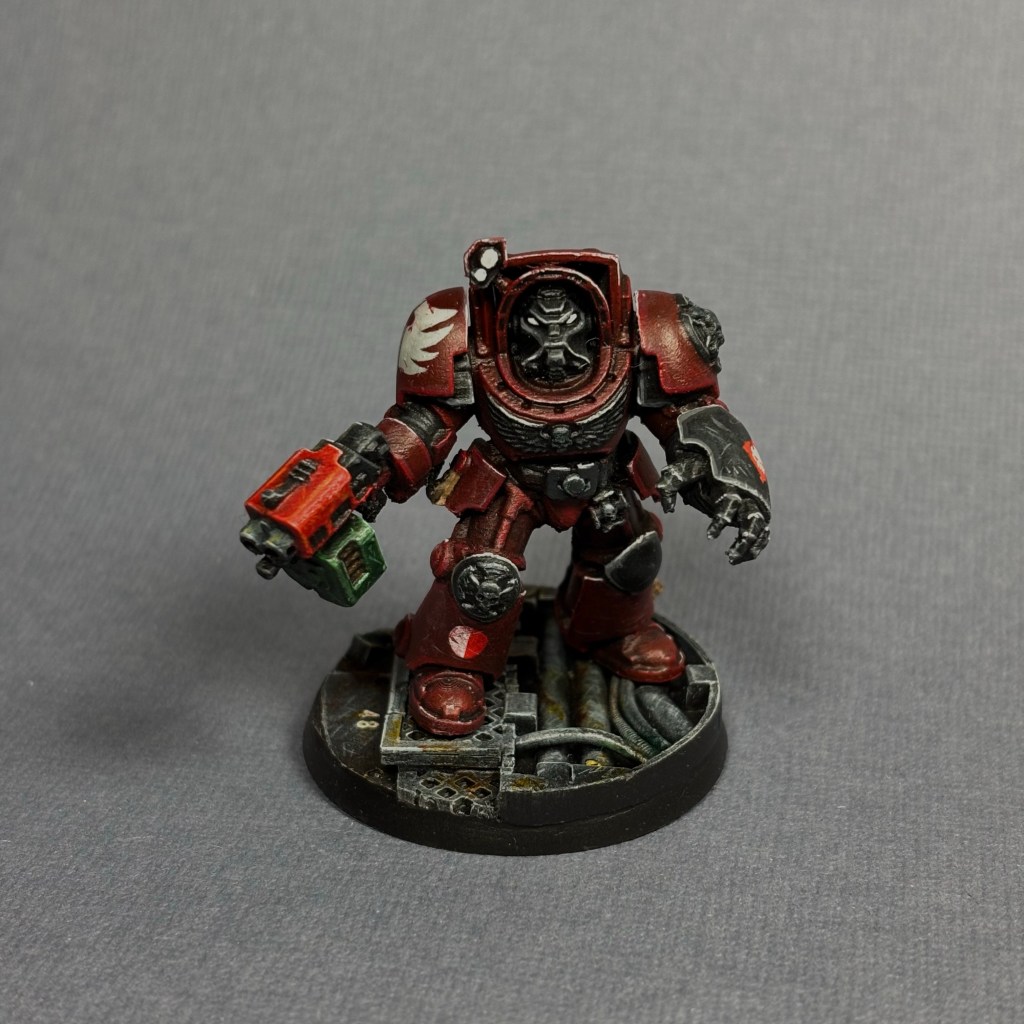
After a somewhat tricky gluejob. Bam! Grimdark Blood Angel Terminator.
I decided to keep the white eyes and lights for now until I get my hands on a green fluorescent paint I like. They might honestly be here to stay because I think they look pretty cool!
I believe this is my most detailed work to date and that I should probably write down the date on the base so that I can track my progression.
It’s been a fun first year building and painting miniatures and I believe next year will only be more enjoyable now that I’ve built up my coffers with effect paints and tools.
Thanks to @Wagner4452 on MakerWorld for providing this and many other models for free.
I will leave a link so that you too can download this very detailed model!
I Hope you enjoyed reading this short post!

Leave a comment