
Concrete
I got an idea to make realistic looking concrete slabs out of cardboard. Applying some aging hardware store plaster with a painter’s knife, resulted in this rough casted looking surface that after a quick blast of black spraypaint drybrushed beautifully.
I sealed the cardboard with three layers of diluted wood glue before adding the plaster and that seems to have held crinkling to a minimum. The plaster does however shrink when drying so I’ll make sure to brace the slabs next time around, as my test sample curled quite significantly.

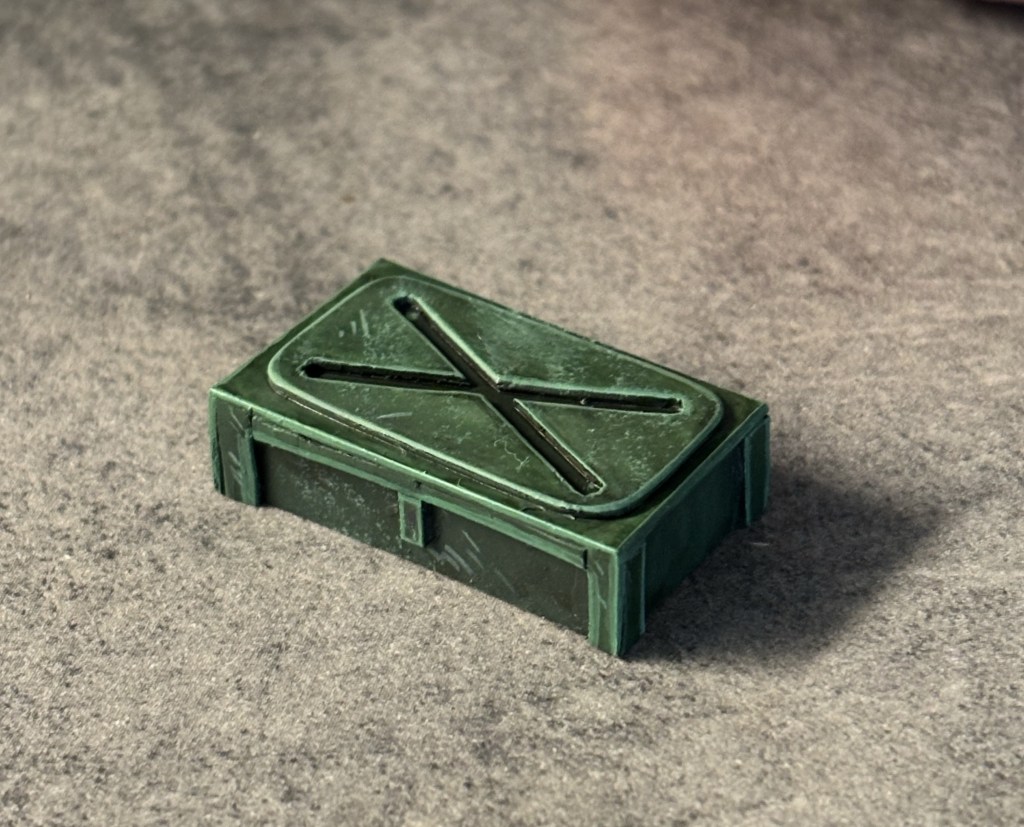
Weapon Crate
I made a rough Astra Militarum weapon container out of some 1mm plasticard. I didn’t have high expectations for this one but it turned out nice once I got some paint on there. 😄
Here are a few in-progress crates, I glued these together with Tamiya ABS plastic cement.
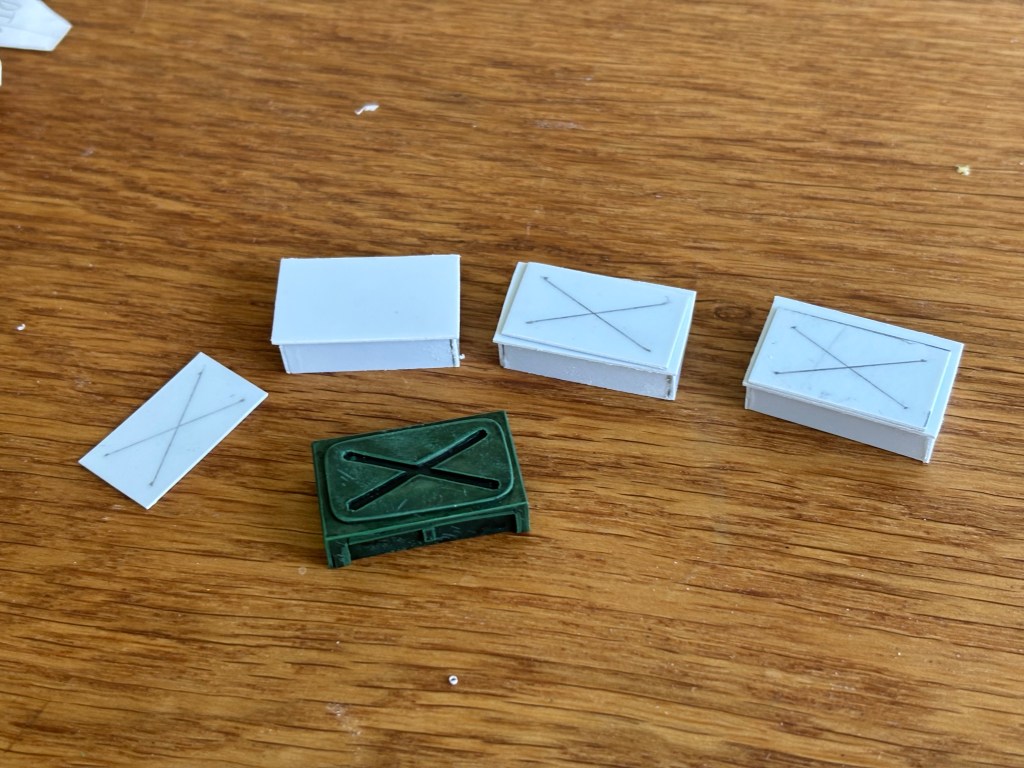
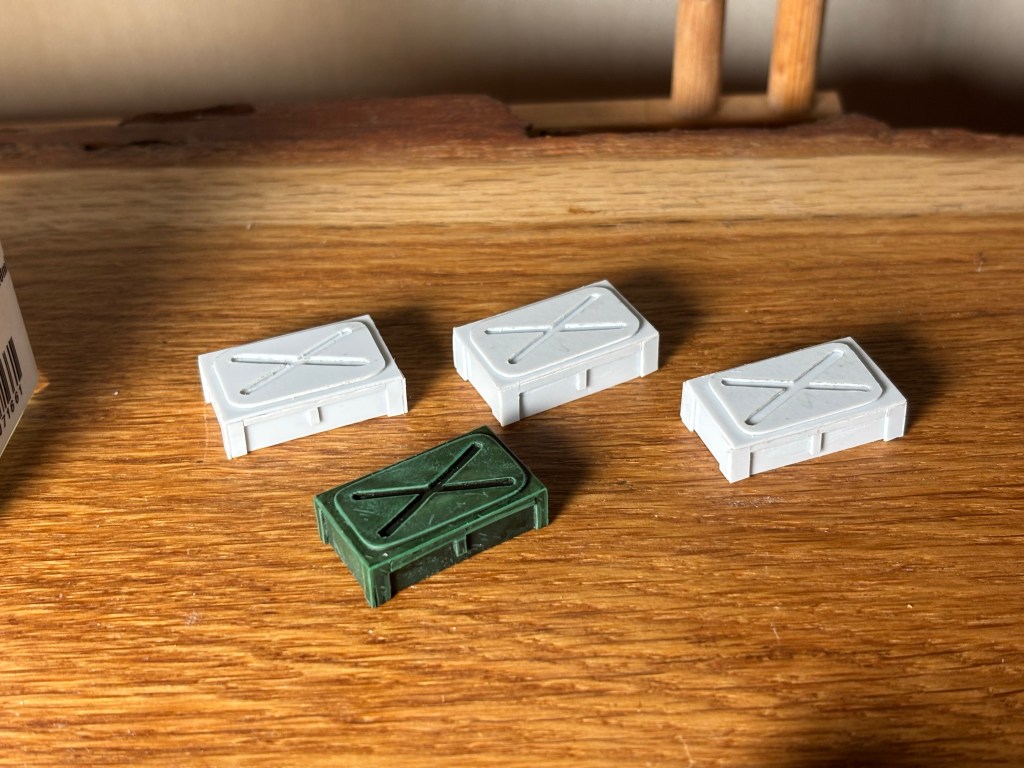
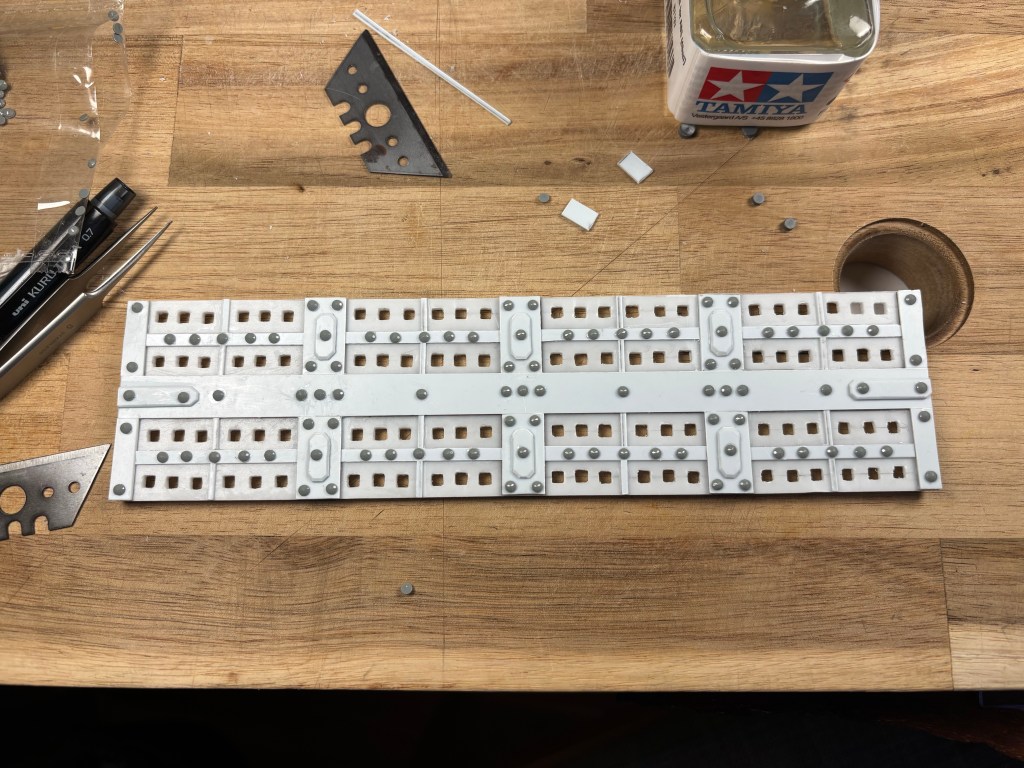
Plate Barriers
Some 2mm ABS plasticard slabs littered with potmarks and craters from impacted rounds and cannon shells. I started making craters with the tip of a box cutter before finding my soldering iron and going ham.
The best approach seems to be a combination, carving a hole with the tip of the knife and then coming in at the desired angle with the tip of the soldering iron and applying light pressure. I went a bit too crazy before I figured this out, resulting in one of the plates looking considerably more uniform and melted than the other. I’m not a big fan, but I suppose I’ll paint that one up to represent plasma craters instead of bullet holes.


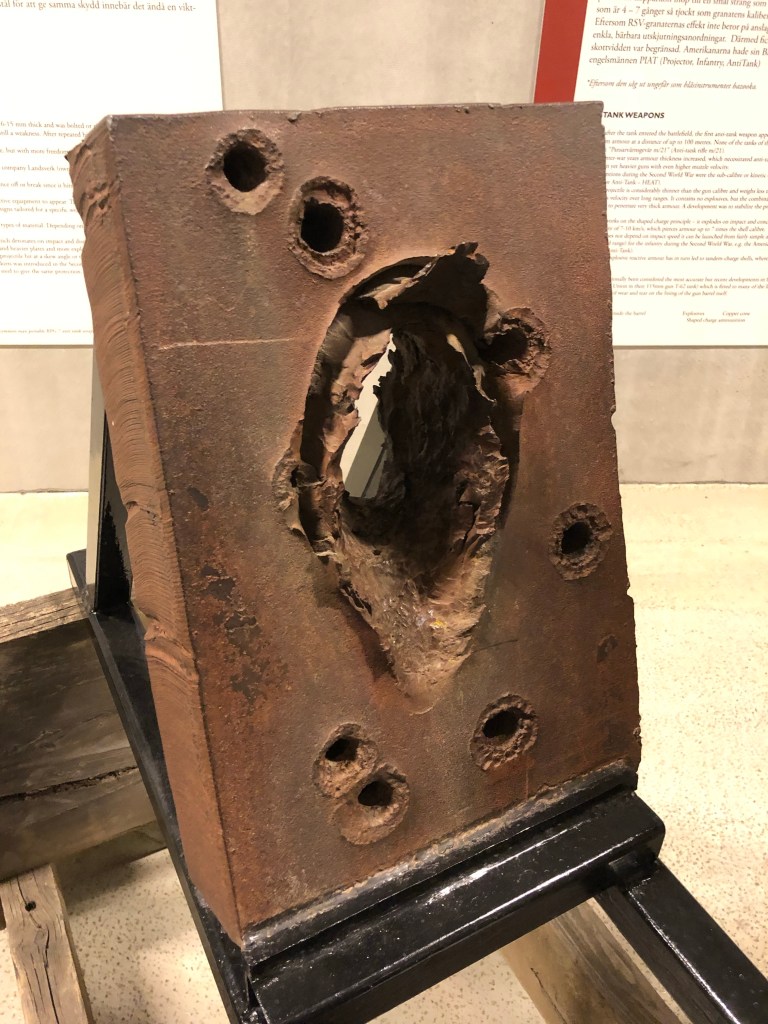
I used these pictures I snapped at ”Arsenalen” (Sweden’s largest military vehicle museum) as inspiration for the project. 😄
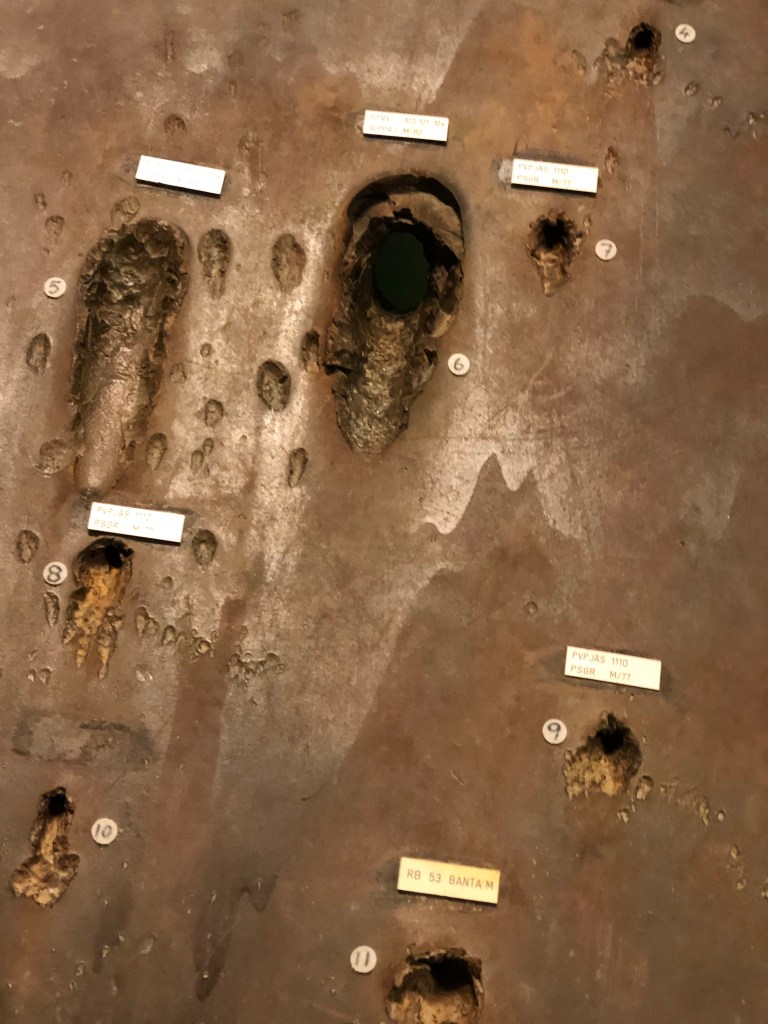
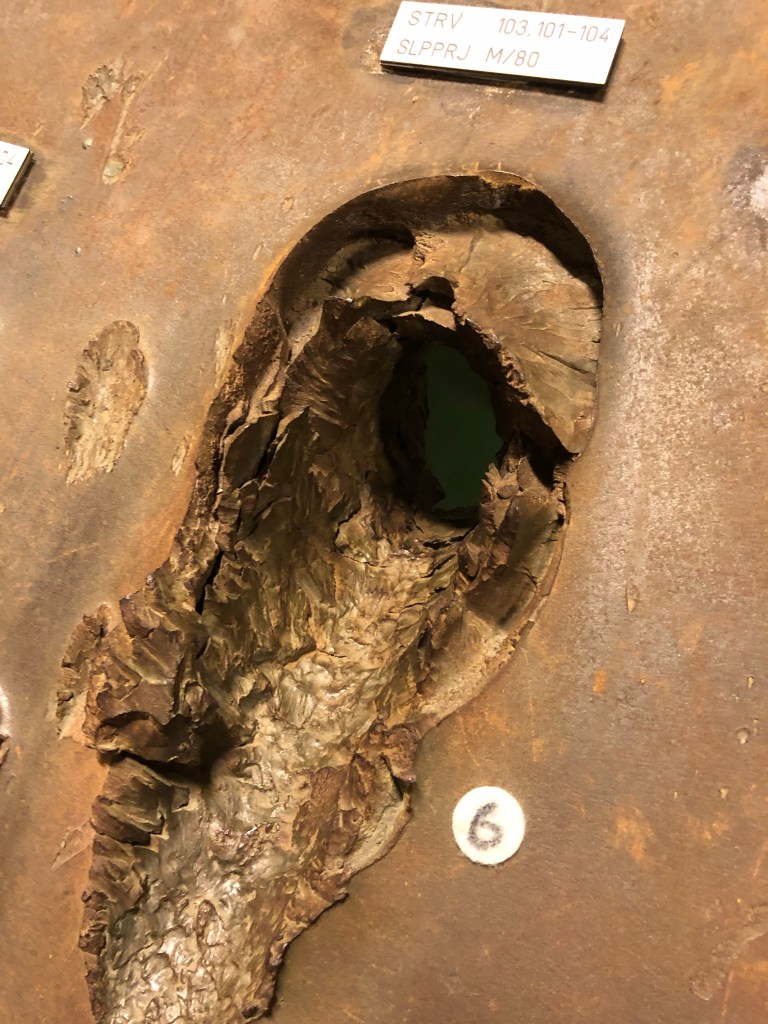
This hole (6) was made by the famous Swedish wedge tank, Stridsvagn 103.

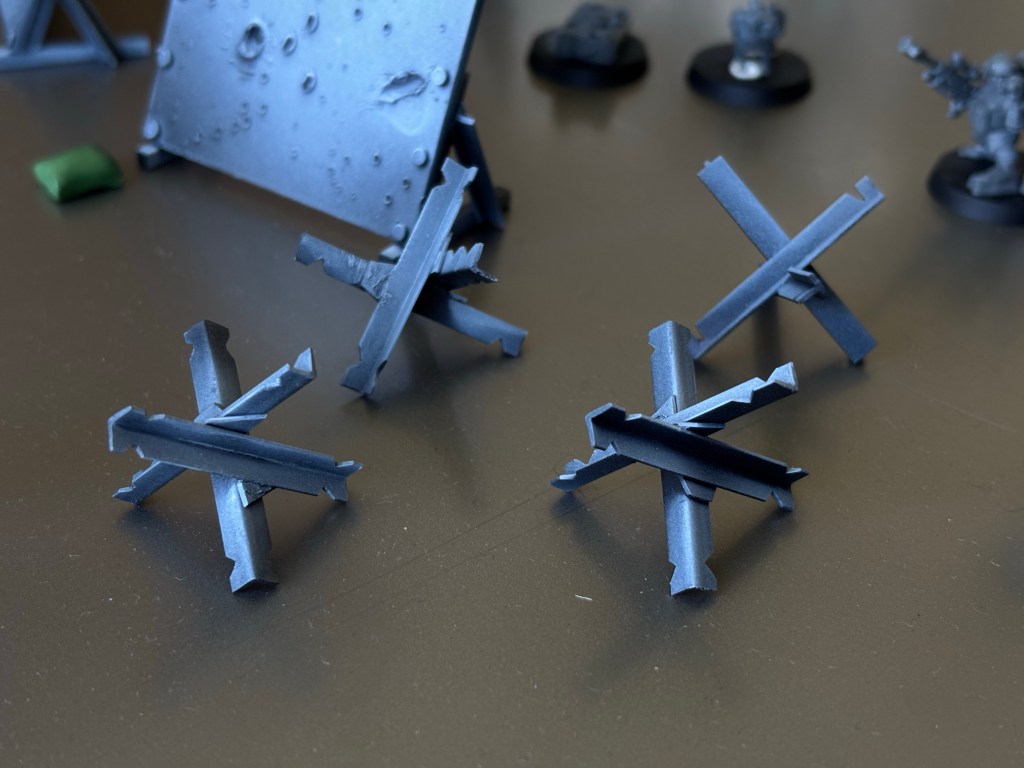
Hedgehogs
Speaking of tanks, here are some Czech hedgehogs I threw together from plasticard, T and L profiles to be specific. Cheap and easy to make, I can see why these things are so common in real warzones. It doesn’t matter if they were to get tipped over by an explosion either, they’re just as effective in any orientation.
I used the same plaster concrete trick to make some dragon teeth, a type of anti tank fortification.
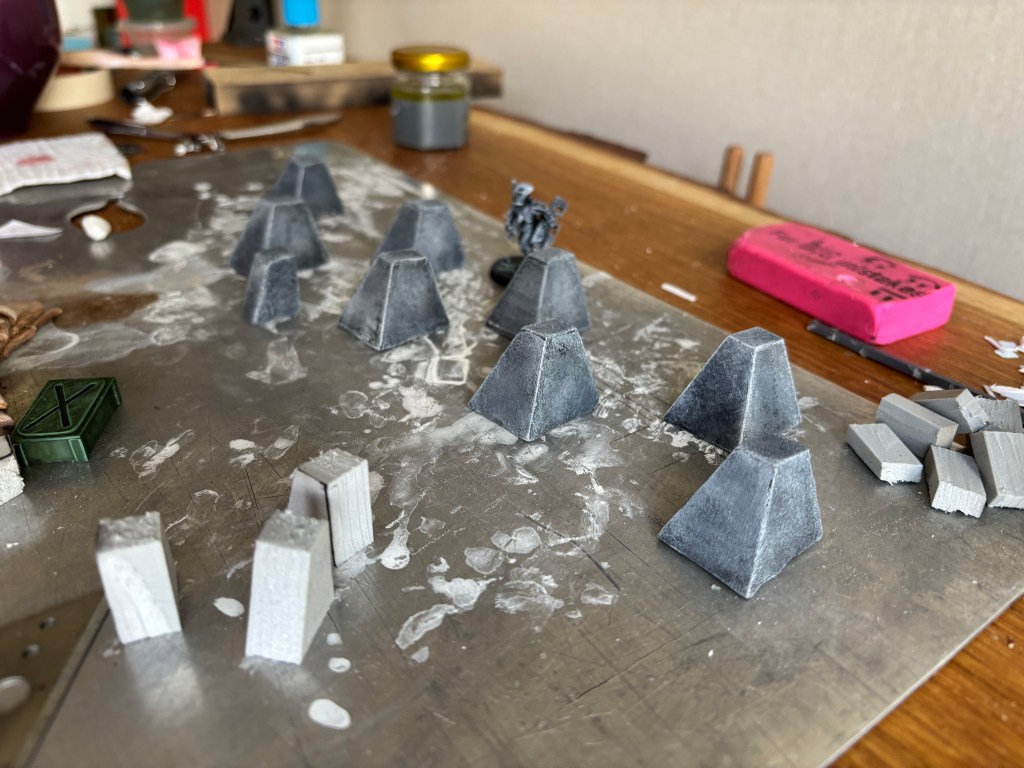
I encountered these last summer on a mountain biking trip to Åre. They were part of a bunker complex located along the arterial road heading eastward to Östersund. It’s a funky feeling when you stumble upon hundreds of these concrete pyramids just lying about on the forest floor, they give off the same impression as a grave site or if you’ve been to Berlin, the concrete holocaust monument. If I were to speculate as to the purpose of these fortifications I would assume these were put in place to halt a potential land invasion out of Trondheim from nazi occupied Norway, the border is located just a couple hours west of Åre by car.
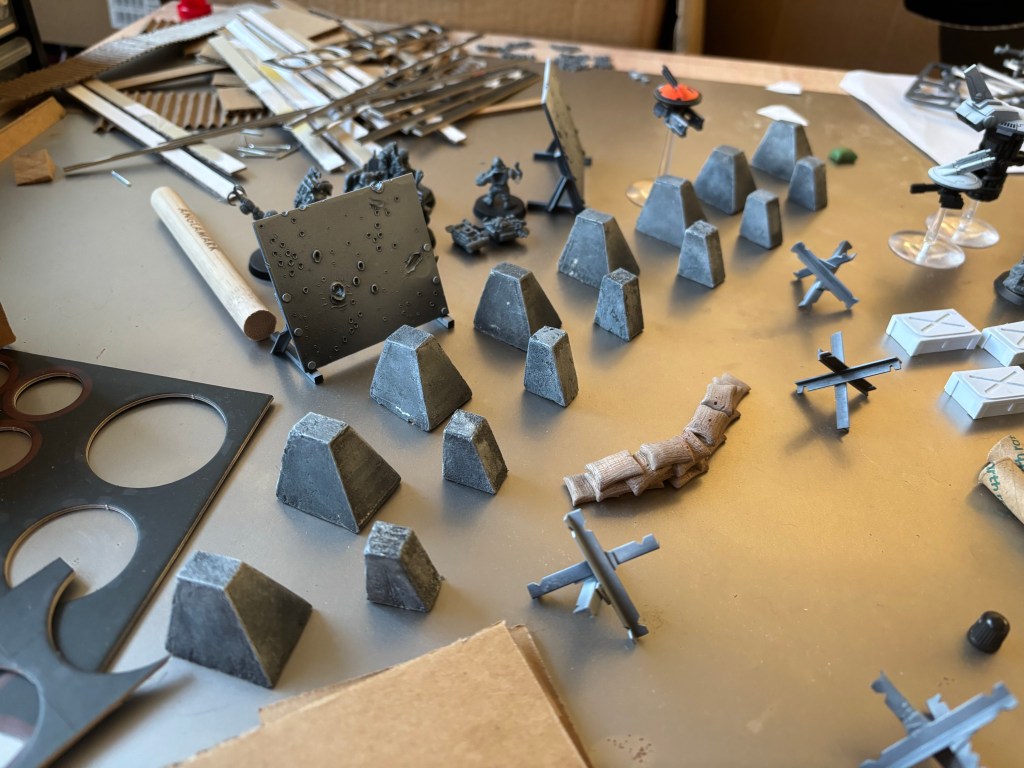
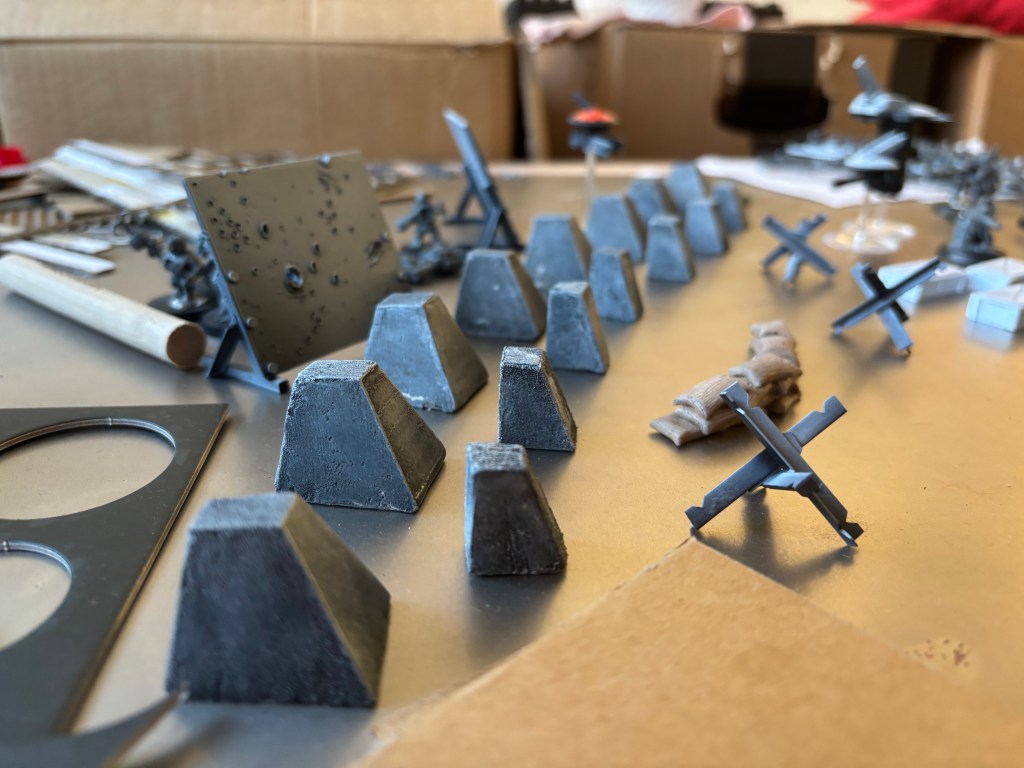
Eight large and seven smaller ones combine to form a wall that would leave a vehicle stranded high center. 😃 The paintjob on these is extremely simple, I spray painted them black followed by a liberal drybrushing of zinc white to bring out that pitted spackle texture, and that’s all there is to it. I might sponge on various tones later, but right now I’m going for numbers over detail.
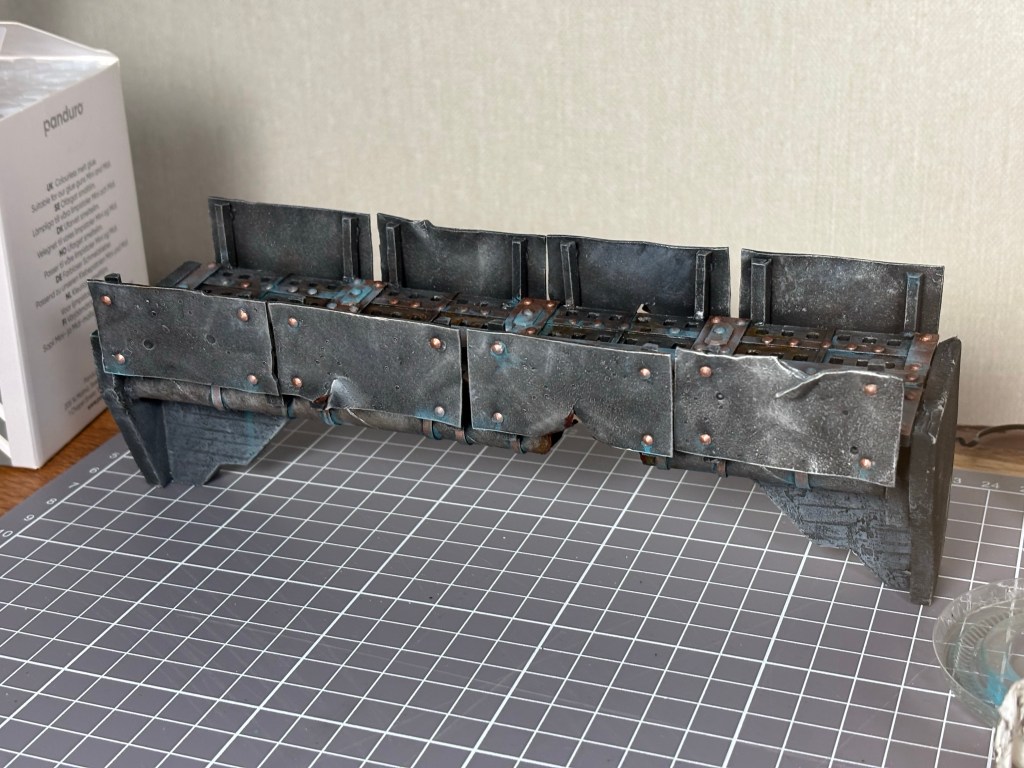
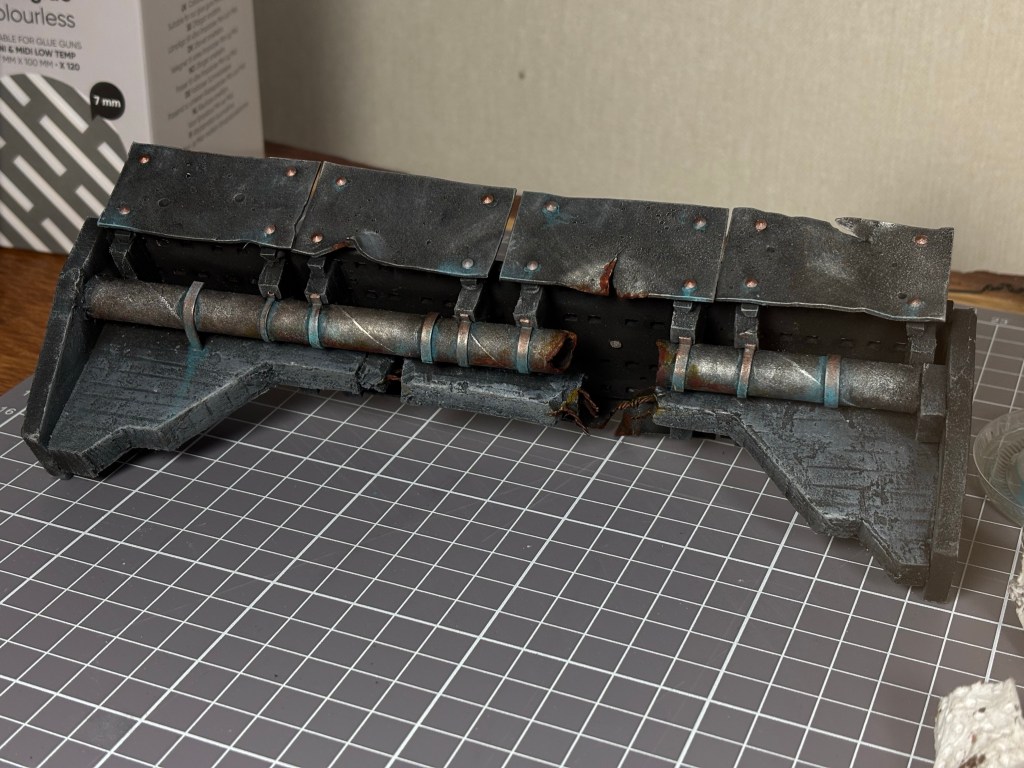

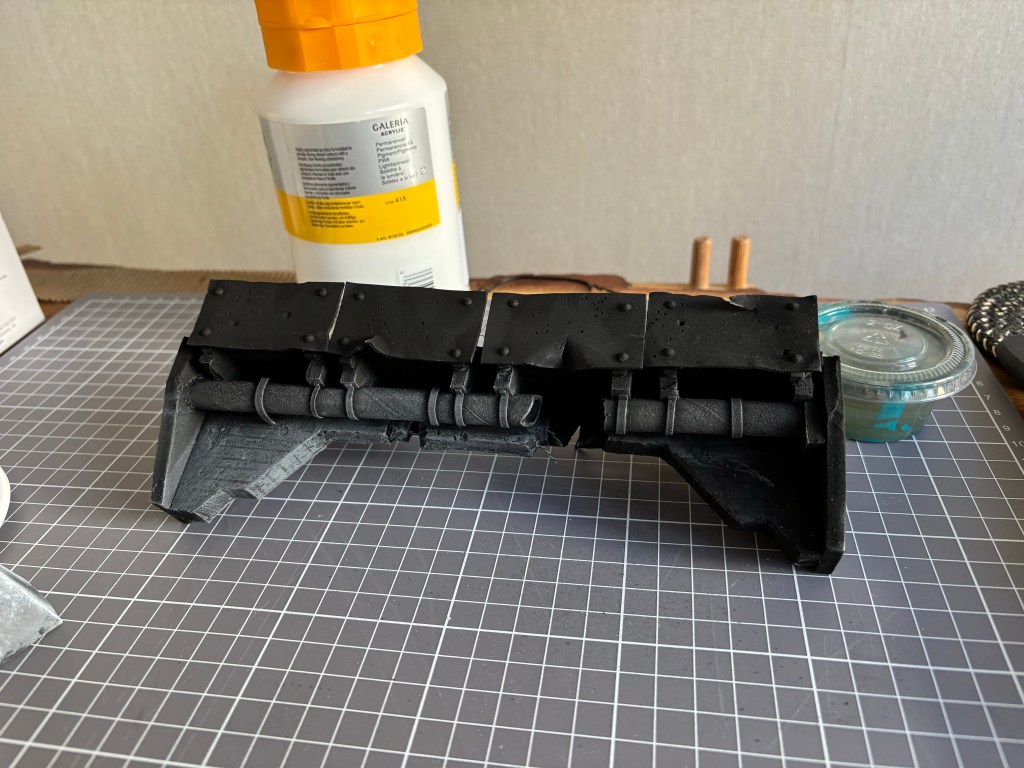
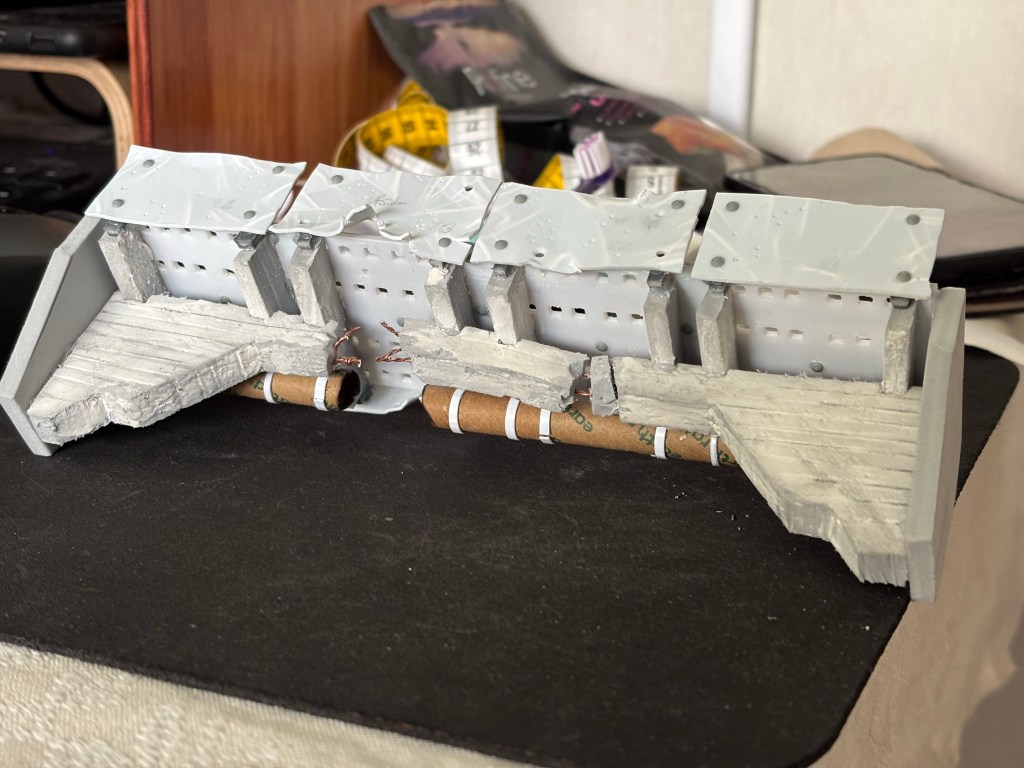
Next I scratchbuilt a bridge, with this I get to try my hand at distressing some plasticard and making some exposed rebar.
The bridge supports are made from 10mm EVA foam, the same foam that I’ve held onto since my cosplay days almost a decade ago. I kept a big bin of offcuts that I figured would come to use somewhere down the line. 😄
There are a lot of scraps, so I would imagine that the bulk of it will end up as kiddy craft supplies in another decade from now. 🤔
I finally got to use my stash of dog poop bag cardboard rolls! As a dog owner I end up with a ton of these things and I can’t quite bring myself to throw all of them away, they’re about a centimetre in diameter making them the perfect size for scale piping.
I put some jagged cuts into the ends of two rolls and took a lighter to them, it worked well to thin down the material a bit, simulating the loss of material to oxidation while getting rid of the fuzziness from the cuts.
I ripped and buckled two of the railing pieces, ”smashed” the concrete leaving it hanging on by the exposed rebar and burst a wastepipe to make it look like something big had scraped the underside of the bridge while walking under it. Something like an Arminger Warglaive. I think it sells the effect quite well with one side buckled in and the other exploded outwards.
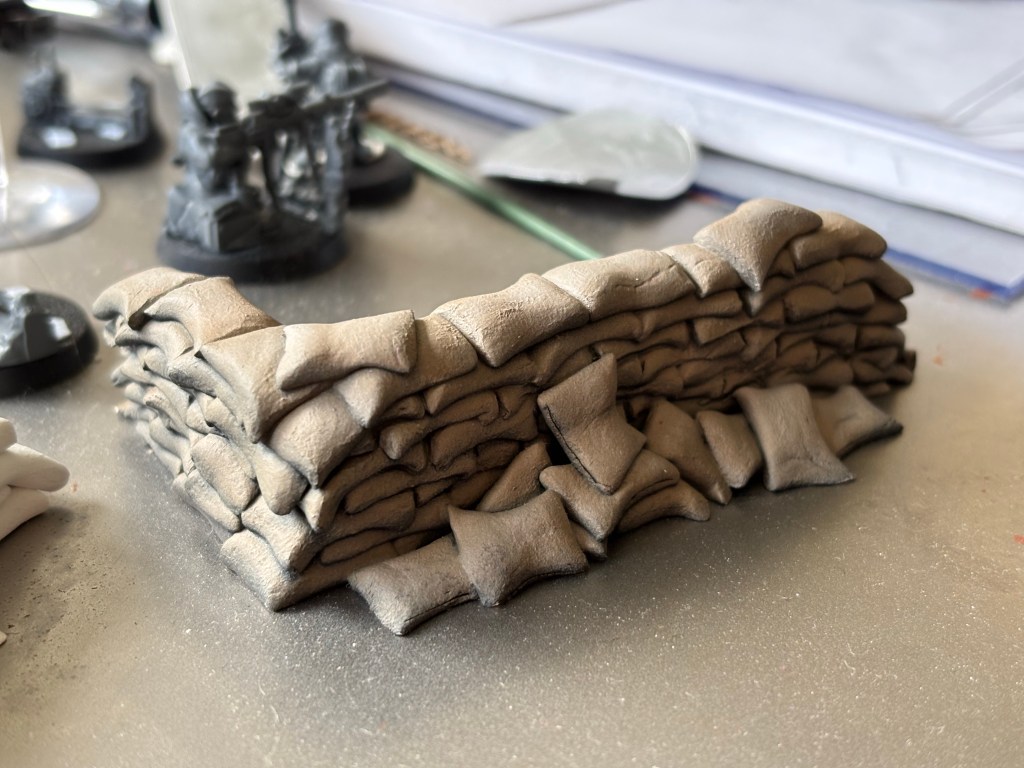

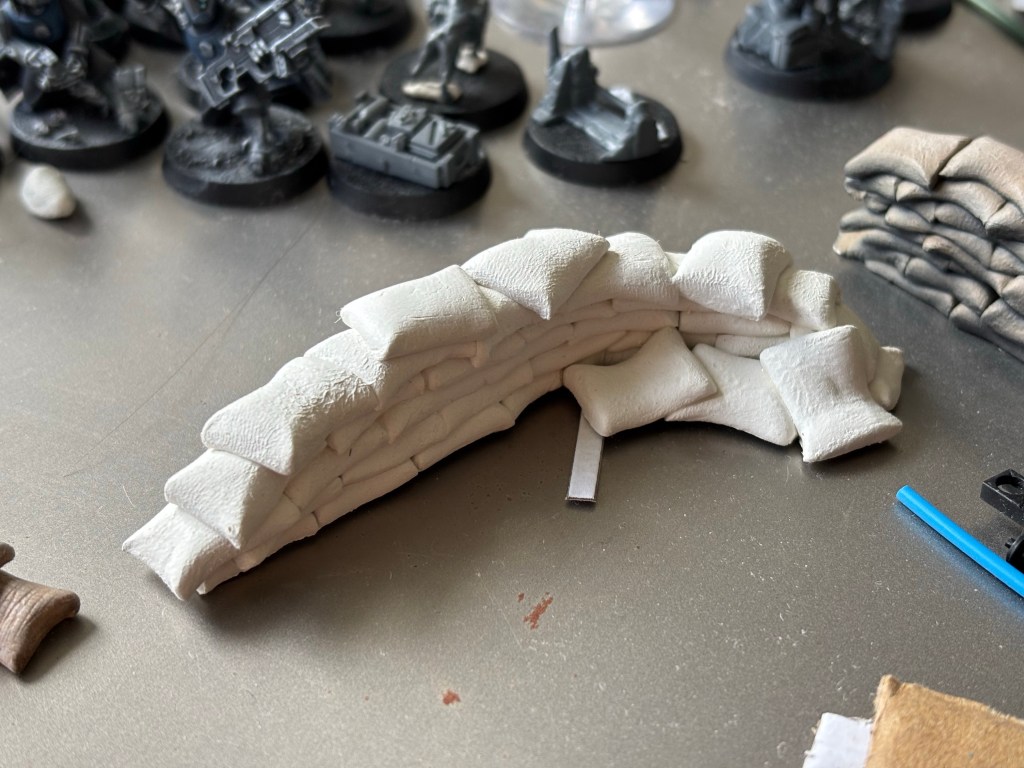
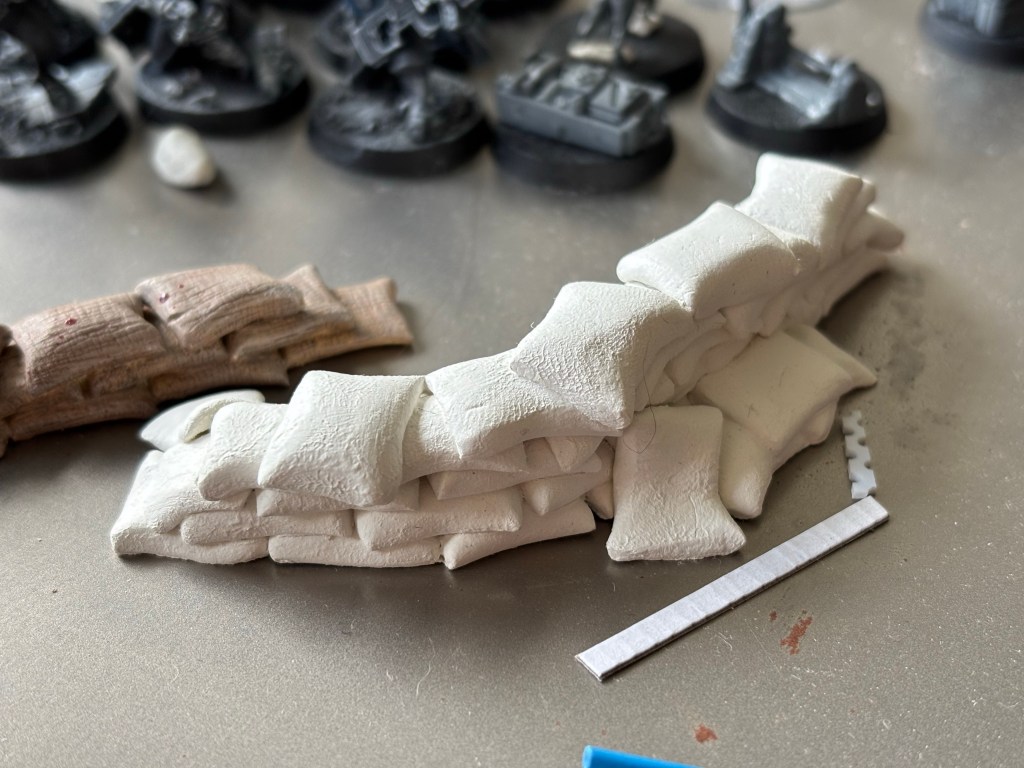
Rounding out with these sandbag barriers made from air-dry craft clay. I followed a tutorial by The Cult Of Crafting on YouTube and I am happy with the results. 😄
Here’s a link to the video I referenced. https://youtu.be/TbnpHeWrS84?si=_jp8khuXxFAwZ9K9

Leave a comment